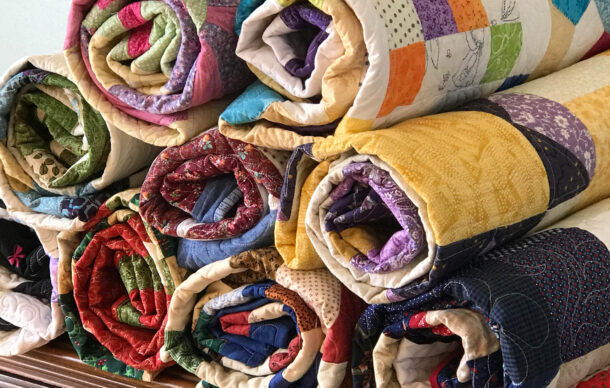
T-shirt quilts are fun to make!
Supplies required: t-shirts, along with fabrics for the sashing, borders and backing. The t-shirt blocks also need to be fused with fusible interfacing, so you need enough yardage of fusible interfacing to fuse each block. (This interfacing helps give the t-shirt fabric stability as you sew it together and quilt over it!)
This T-shirt quilt tutorial is for making a quilt with “uniform” blocks and sashing in between the blocks.
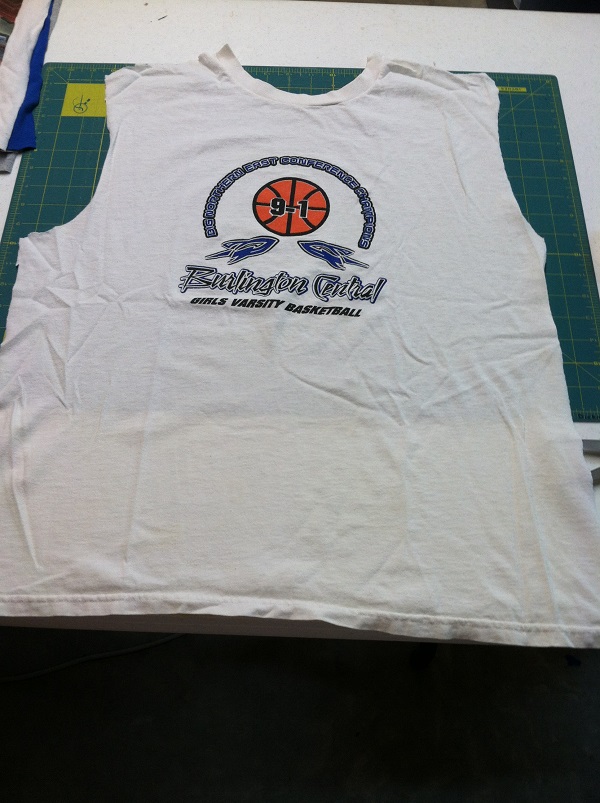
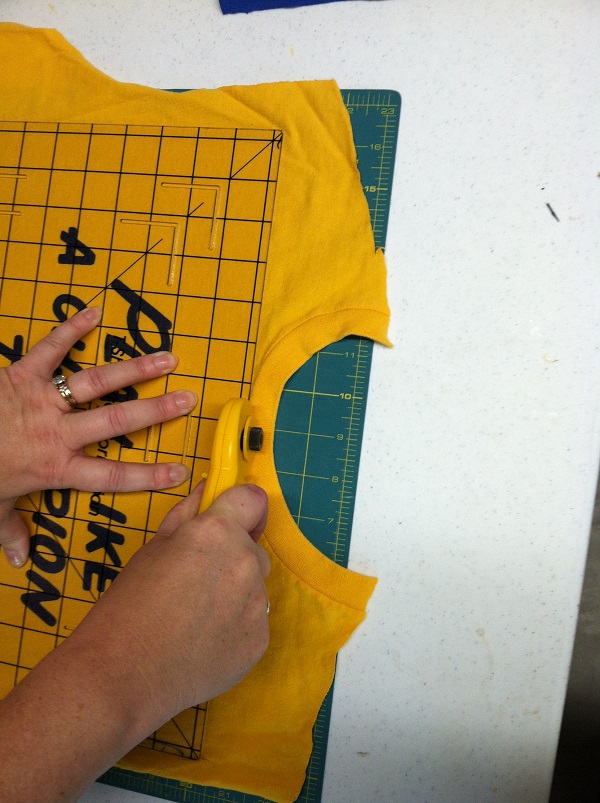
Step #1: Cut up along each side of the t-shirt, around the armhole, and across the shoulders, separating the front from the back, and also cut off the sleeves.
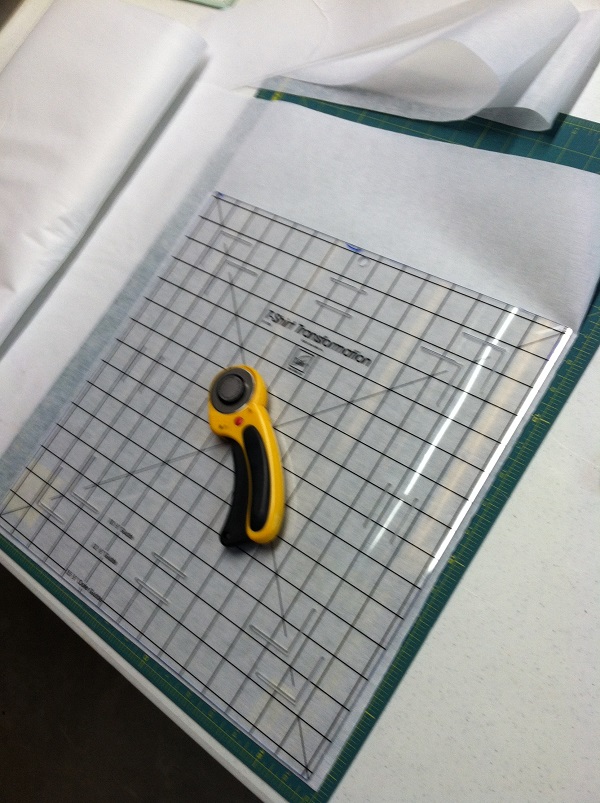
Step #2: To make each t-shirt block uniform, determine which t-shirt has the largest imprint, obtain its measurement and then cut every t-shirt block to be the exact same size.
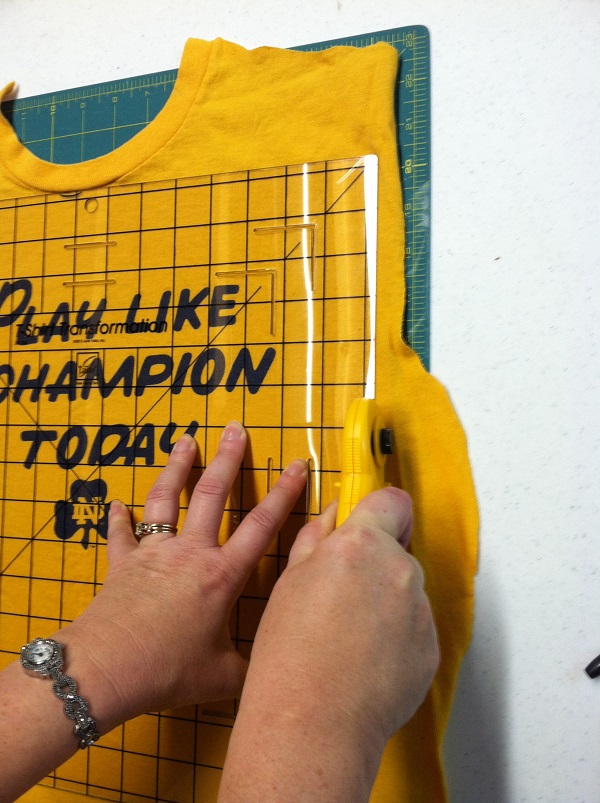
For example, if the largest imprint was 11″ x 10″; I would make sure I cut each t-shirt block 12-1/2″ x 12-1/2″, centering the imprint as best you can. (All seam allowances for each block are 1/4″.) Place the t-shirt front or back on a rotary mat as you work with it. I use a rotary cutter and a T-shirt Transformation Ruler! You can find them at www.amazon. com or www.nancysnotions.com. This acrylic ruler is wonderful…you can see through it to align the imprints correctly, you can then cut around the block in either 10″, 12″ or 15″ blocks. It is certainly a time saver!
Step #3: After each of the blocks have been cut from your t-shirts, then apply fusible interfacing to each block. There are many different types of fusible interfacing that can actually be used for t-shirt quilts. It seems that every quilter has her own preference. Some prefer a non-woven firmer interfacing; some prefer a softer knit interfacing.
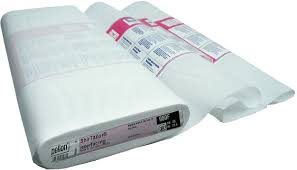
The fusible interfacing I use is made by Pellon and I do prefer the Knit interfacing… specifically EK130 Easy Knit fusible interfacing. You can purchase it at your local Quilt Shop, Walmart, Joann’s, Hobby Lobby, etc.. It is purchased by the yard… typically I use between 10-15 yards for a double to a queen size quilt. (Note: Fusible interfacing on the bolt is only 22″ wide, whereas quilting fabric is 44″ wide on the bolt, so it’s important to account for this yardage difference when making your purchase.)
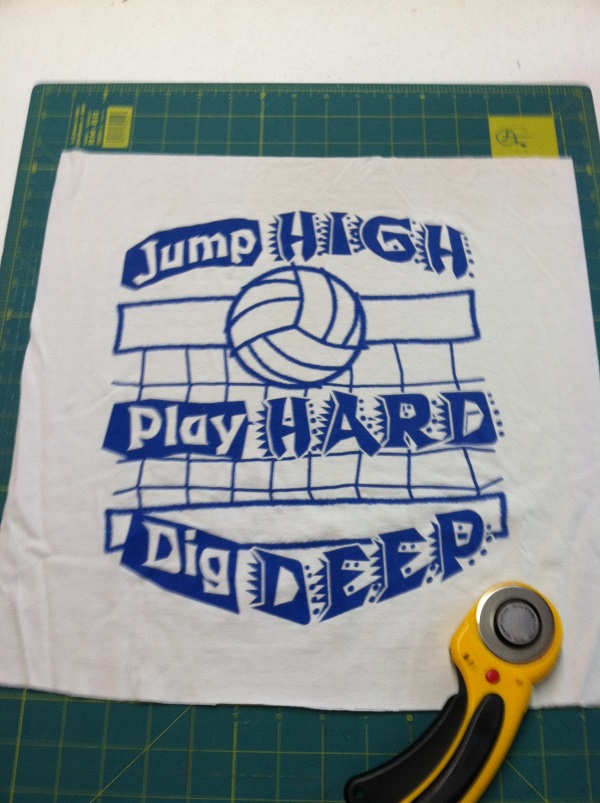
The picture below shows a 12″ t-shirt block fused with a 12″ piece of lightweight fusible interfacing.
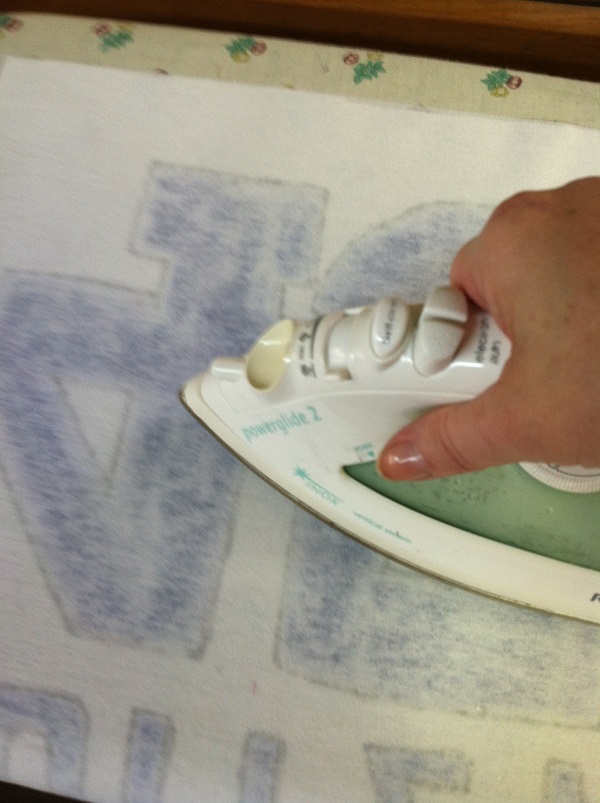
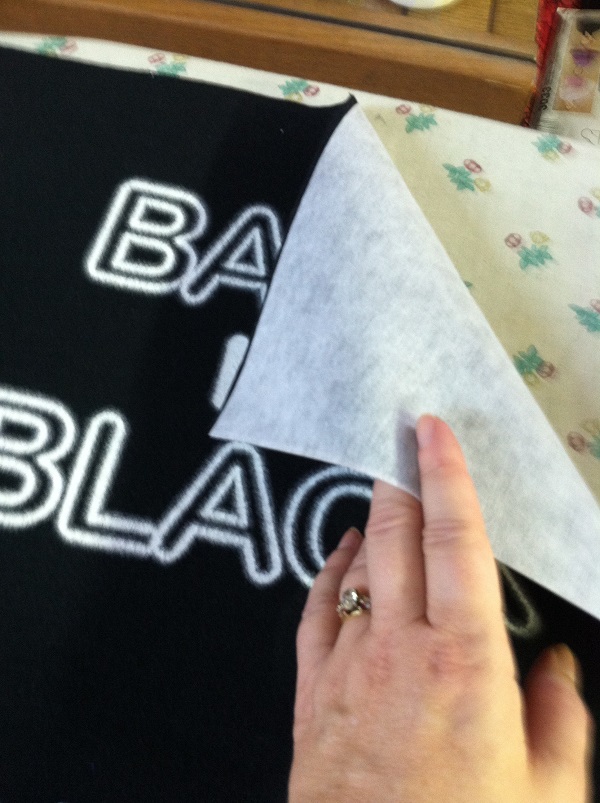
The interfacing is cut the same size as the t-shirt blocks. Then they are adhered to the back of each t-shirt block. The “rough” side of the interfacing is the side with the ‘adhesive glue.’ Therefore, place the rough side of the interfacing to the wrong side of the t-shirt block. Use a pressing cloth (placed over the interfacing), press to adhere it to the t-shirt fabric following the manufacturer’s instructions. NEVER press directly over the imprint of the t-shirt…the ink from the imprint will melt and adhere to your iron! ALWAYS use a pressing cloth OVER the area where you iron. Preferably, you should place your t-shirt block face down on the ironing board, with the interfacing piece placed (glue side down) onto the back of the t-shirt block. Then place the pressing cloth on top and iron.
Apply interfacing to every t-shirt block you plan to use in your quilt.
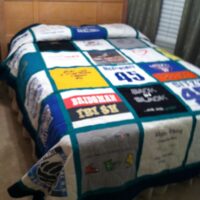
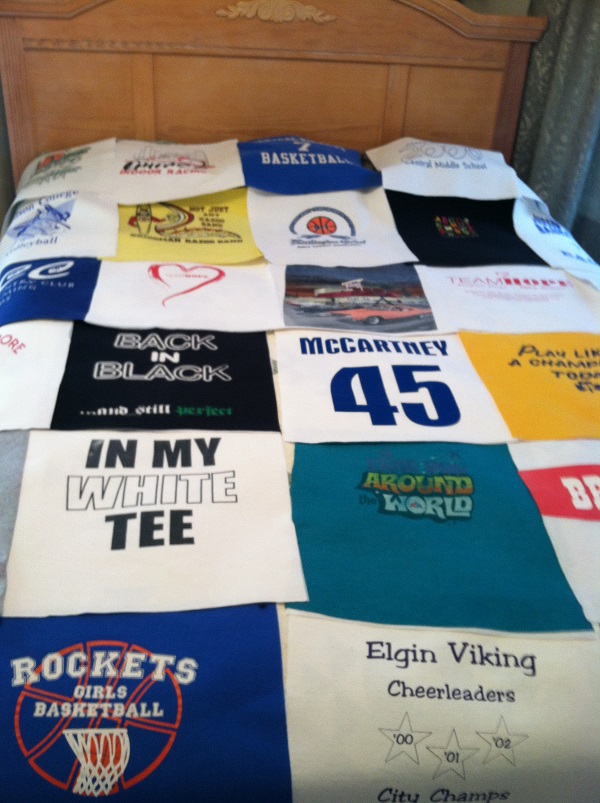
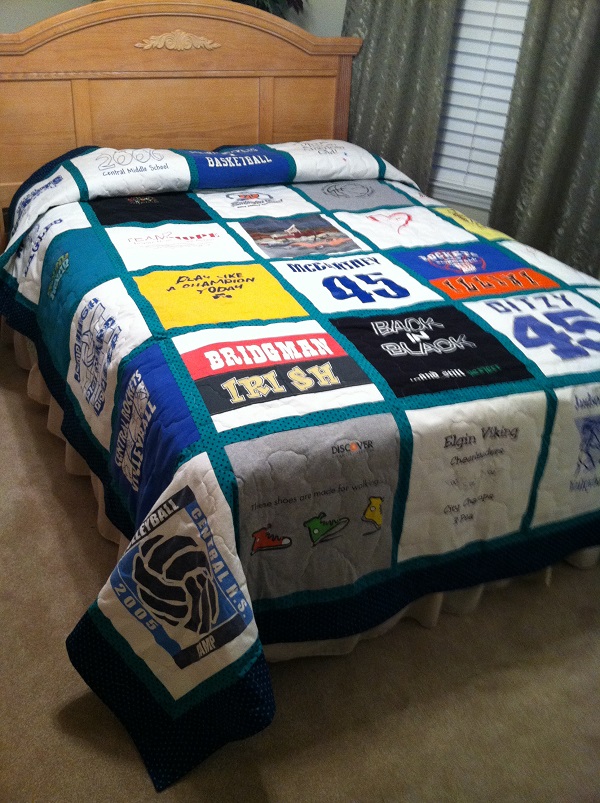
Before sewing blocks together, I lay out the blocks in a desirable arrangement… (for example: 5 blocks wide by 6 blocks long.) This allows you to move blocks from one location to another before sewing the quilt together and helps ensure balance in color and uniformity across the quilt top. See the photo here where the blocks are placed on the bed as I am arranging them to determine the best placement…
Step 4: At this point, you will cut out the strips of fabric to “sash” each of the blocks together. This (sashing) fabric can be complementary or themed fabric…whatever you choose.
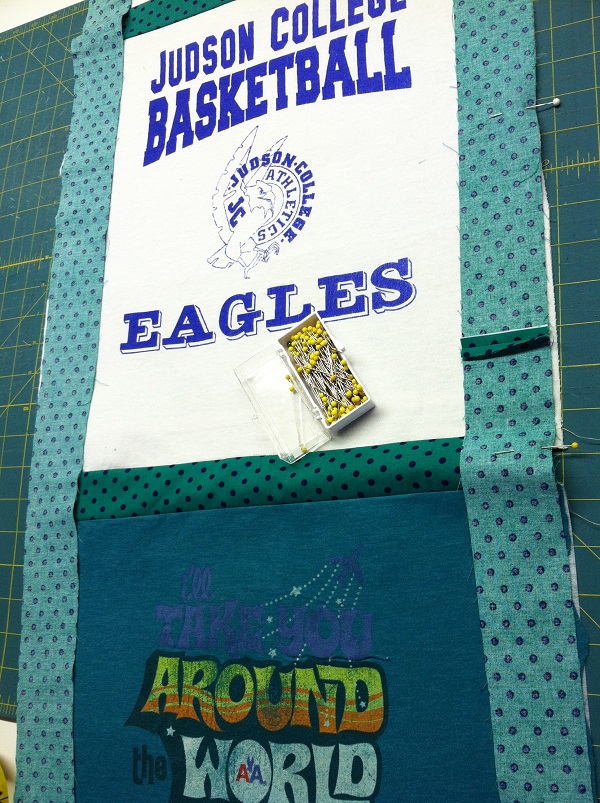
The strips for the quilt pictured here were cut 2-1/2″ by WOF (width of fabric…44″). Then I sub-cut enough 2-1/2″ x 12-1/2″ strips which will be sewn onto the top and/or bottom of the t-shirt blocks.
Now sew each row of t-shirt blocks one to another (top to bottom) with the sashing fabric you’ve cut out. This connects each block one to the other in rows. Once each of those long rows has been sewn together, then measure that entire row from top to bottom (60″ for example) and sew a 2-1/2″ x 60″ strip onto each side of that long row of blocks.
Sew each of the five long rows of blocks in this manner until the center of the quilt is completely sewn together.
Step #5: Now that the center of the quilt is pieced together, cut border strips of fabric (contrast or themed) which will be used to attach to the outside edges to frame (or border) your quilt top. The quilt shown here has 5-1/2″ x WOF borders cut from navy blue fabric. Since the WOF is only about 44″, it will be necessary to piece border fabric together in order for each segment to be long enough. (For example: your center quilt section may be 60″ x 72″; therefore, you must piece together enough border fabric to cover each 60″ section and each 72″ section all the way around the quilt.
Step #6: Once the sashing and borders have been sewn, now you can “sandwich” the quilt top, the batting, and the backing fabric together. Lay the backing fabric (right side down) on the floor; then lay the batting centered on top of the backing fabric. Lastly, lay the quilt top (right side UP) centered on top of the batting/backing on the floor.
Baste all together using long stitches and contrasting thread. Start in the middle and baste out towards all edges of the quilt. This basting keeps the quilt sandwiched together while you “quilt” it… Determine how you would like to quilt your quilt… You can tie it with cotton thread or yard, or you can “stitch-in-the-ditch” every seam of the quilt on your home sewing machine.
Step#7: After you’ve quilted the quilt, it is now ready for binding. Binding is a segment all to itself! That will be in a follow-up tutorial!
Hope you’ve enjoyed creating your very own T-shirt quilt!!