The Scrappy Shamrock block is very easy to make using one beige 3-1/2″ square (background square behind the green stem), twelve green 2″ squares, and nine beige 1-1/2″ squares for ‘snowballing’ the green squares! You will learn how to “snowball” a square in this tutorial…
First, grab your scrap bin and find the scraps in the size & color required for this block. Then lay those scraps out in the arrangement of the shamrock as I’ve done in the following picture…
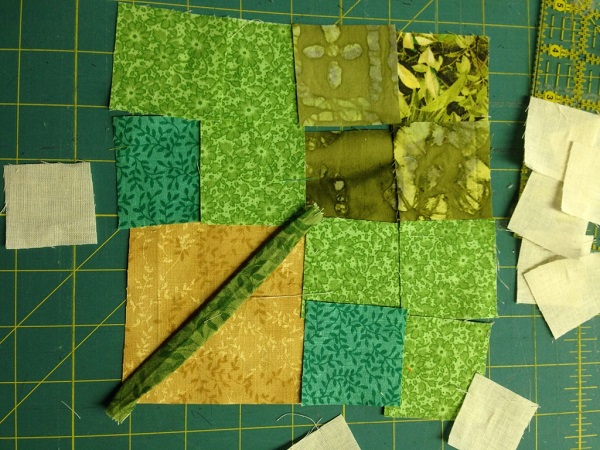
You will also notice I found a 6″ length of 1″ wide green fabric which I folded up lengthwise and pressed for the stem of the Shamrock. I placed it diagonally across the 3-1/2″ beige square (above).
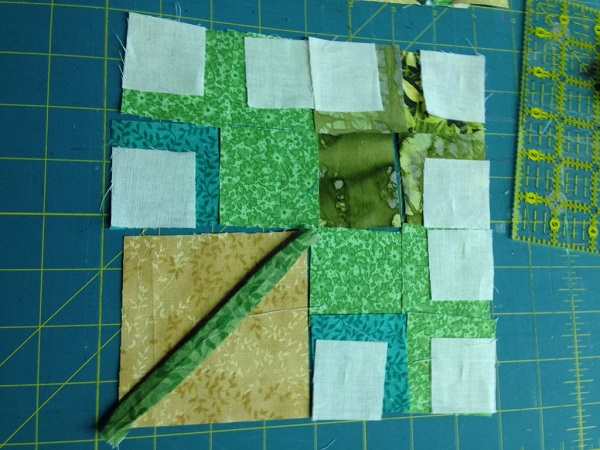
Next, I placed the 1-1/2″ beige squares on each of the green squares that will be “snowballed.” Note their placement above.
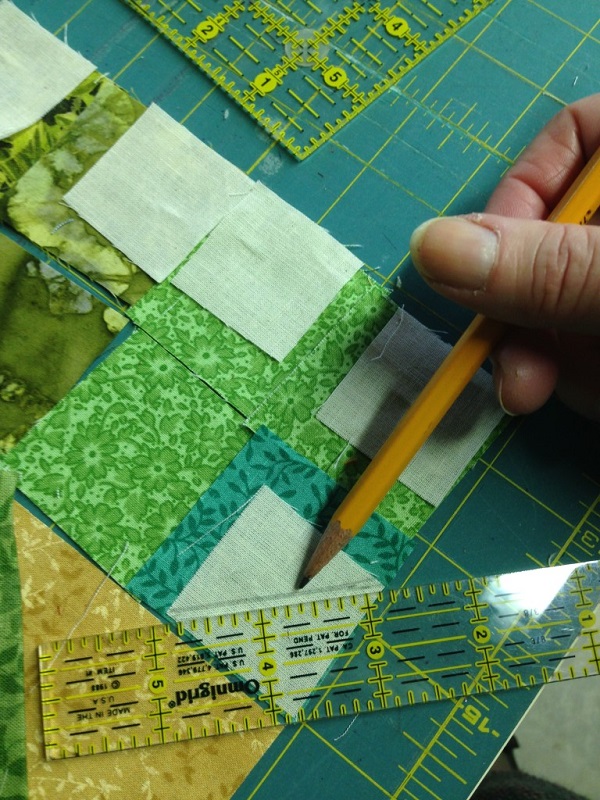
Using a ruler and pencil, draw a line from corner to corner diagonally on the beige squares…this line will be your sewing line in the next step.

Important: Note the direction of each diagonal line … it varies from square to square in order to create the Shamrock.
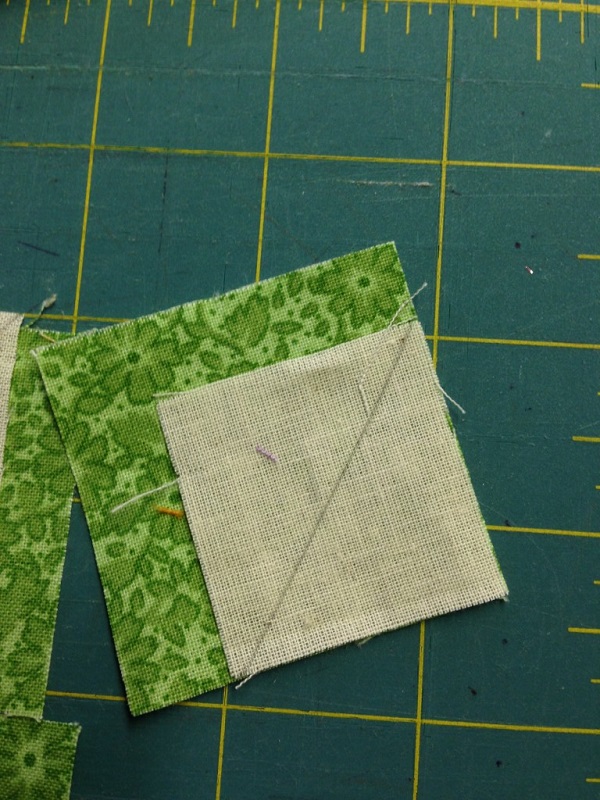
Above is a close-up of the diagonal line on the green square as well as its correct placement on the green square. Note the 1-1/2″ beige square is placed flush into one corner of the 2″ green square. You will stitch on the pencil line.
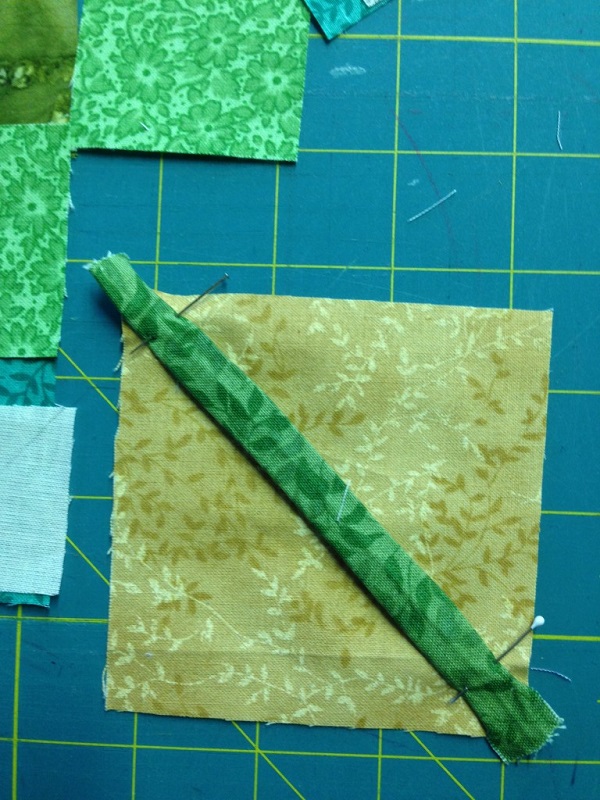
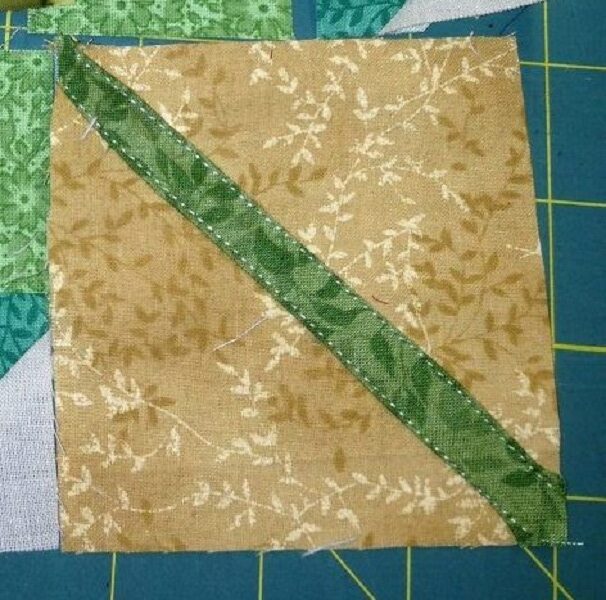
Take all the green squares to be ‘snowballed’ to your machine, and also grab the 3 1/2″ square onto which you will sew the stem. I have pinned the stem in place on the diagonal line (above).
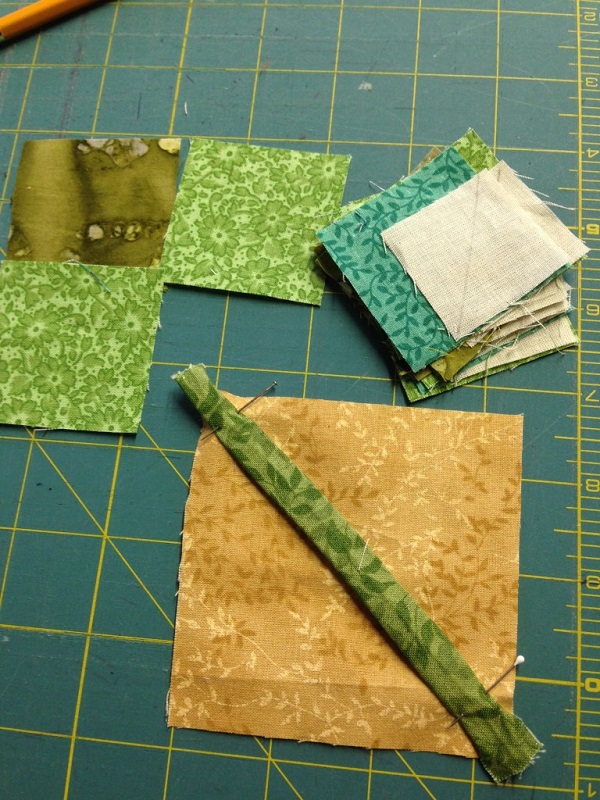
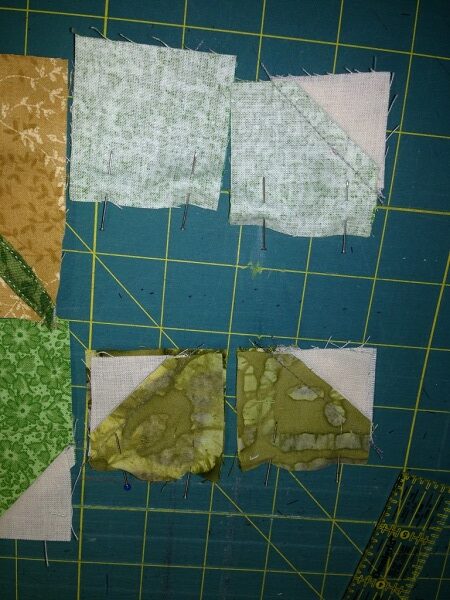
Above is the collection of my green squares to be snowballed, along with my beige 3 1/2″ square with stem… there are only three green 2″ squares that are left alone at the table for now.
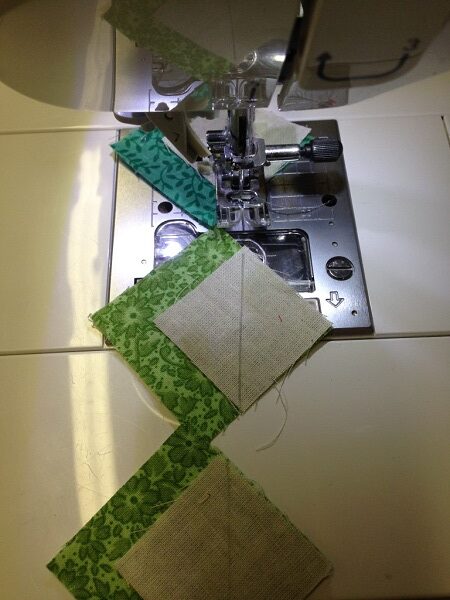
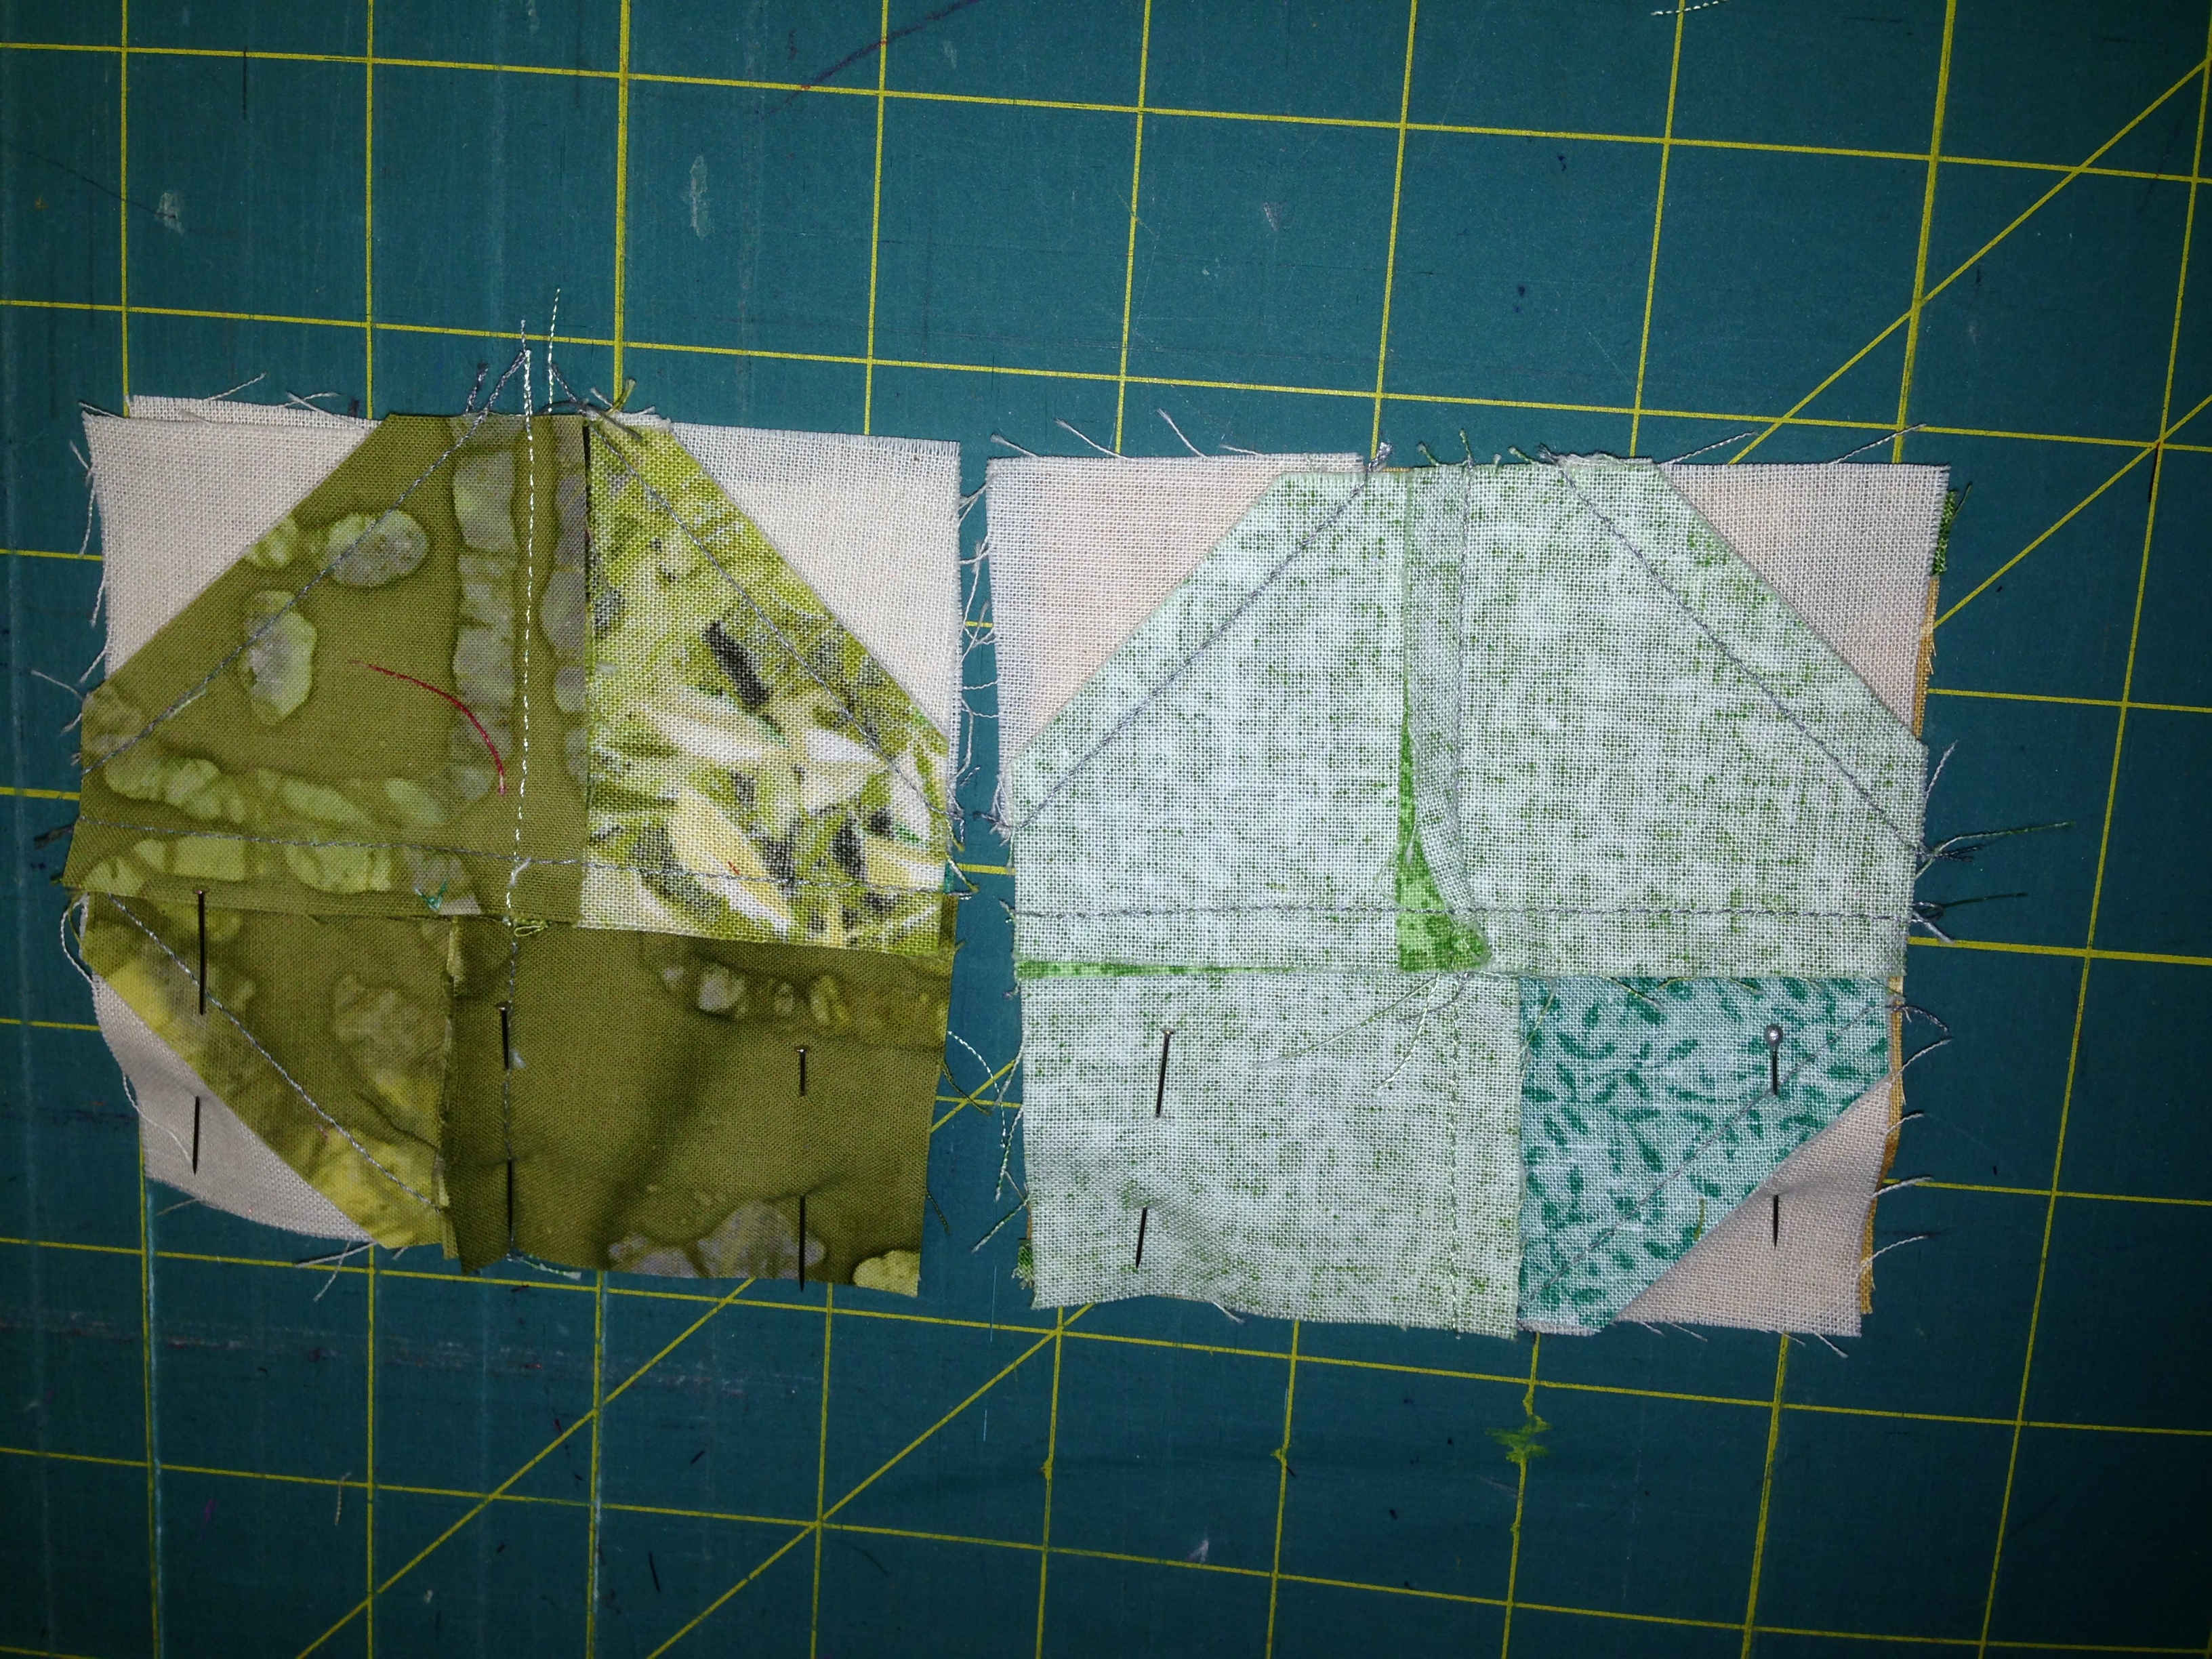
In the photos above you will see that I am sewing the beige squares onto the green squares on the pencil line.
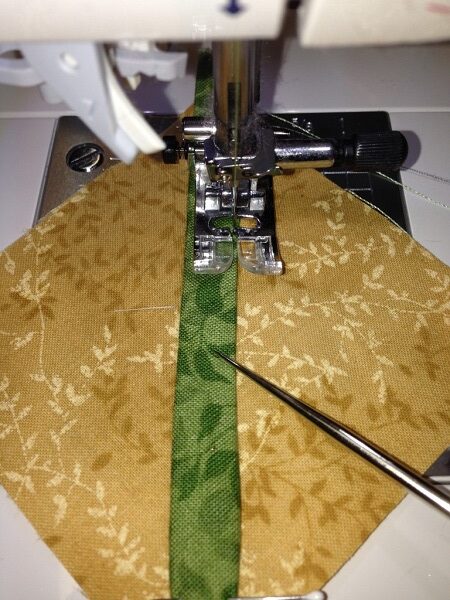
And here I am sewing the stem to the beige 3-1/2″ square (on the diagonal) by stitching very close to the edge of each side of the green stem.
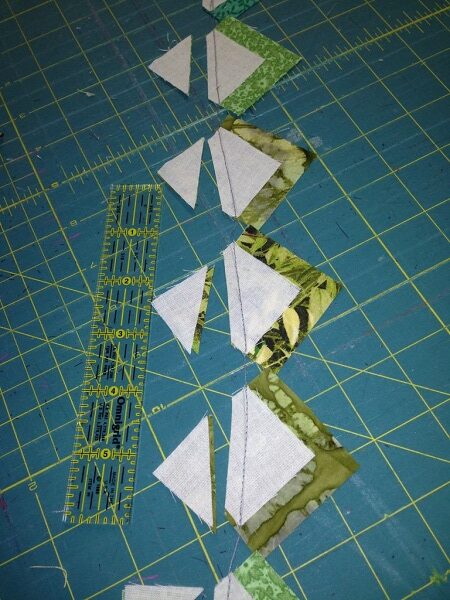
After stitching the beige squares to the green squares, I trimmed the excess off leaving 1/4″ seam allowance. Press the seams toward the dark fabric…

The above photo is a little blurry… sorry about that!… but you can see that the green squares have been “snowballed!” Basically, snowballing is recreating a corner of a square using a different fabric (often it is a white or cream fabric – hence, the name ‘snowballing’; however other colors can be used also – depends on your project.
After trimming away the excess seams and pressing, lay out the squares in the shape of the Shamrock. Now you will start sewing the squares together in pairs, then sew the pairs together until the Shamrock is completely pieced together to form the block… see the sequence of photos below… In the photos you will see that I pinned (right sides together) two adjoining squares and sewed using a 1/4″ seam allowance throughout.
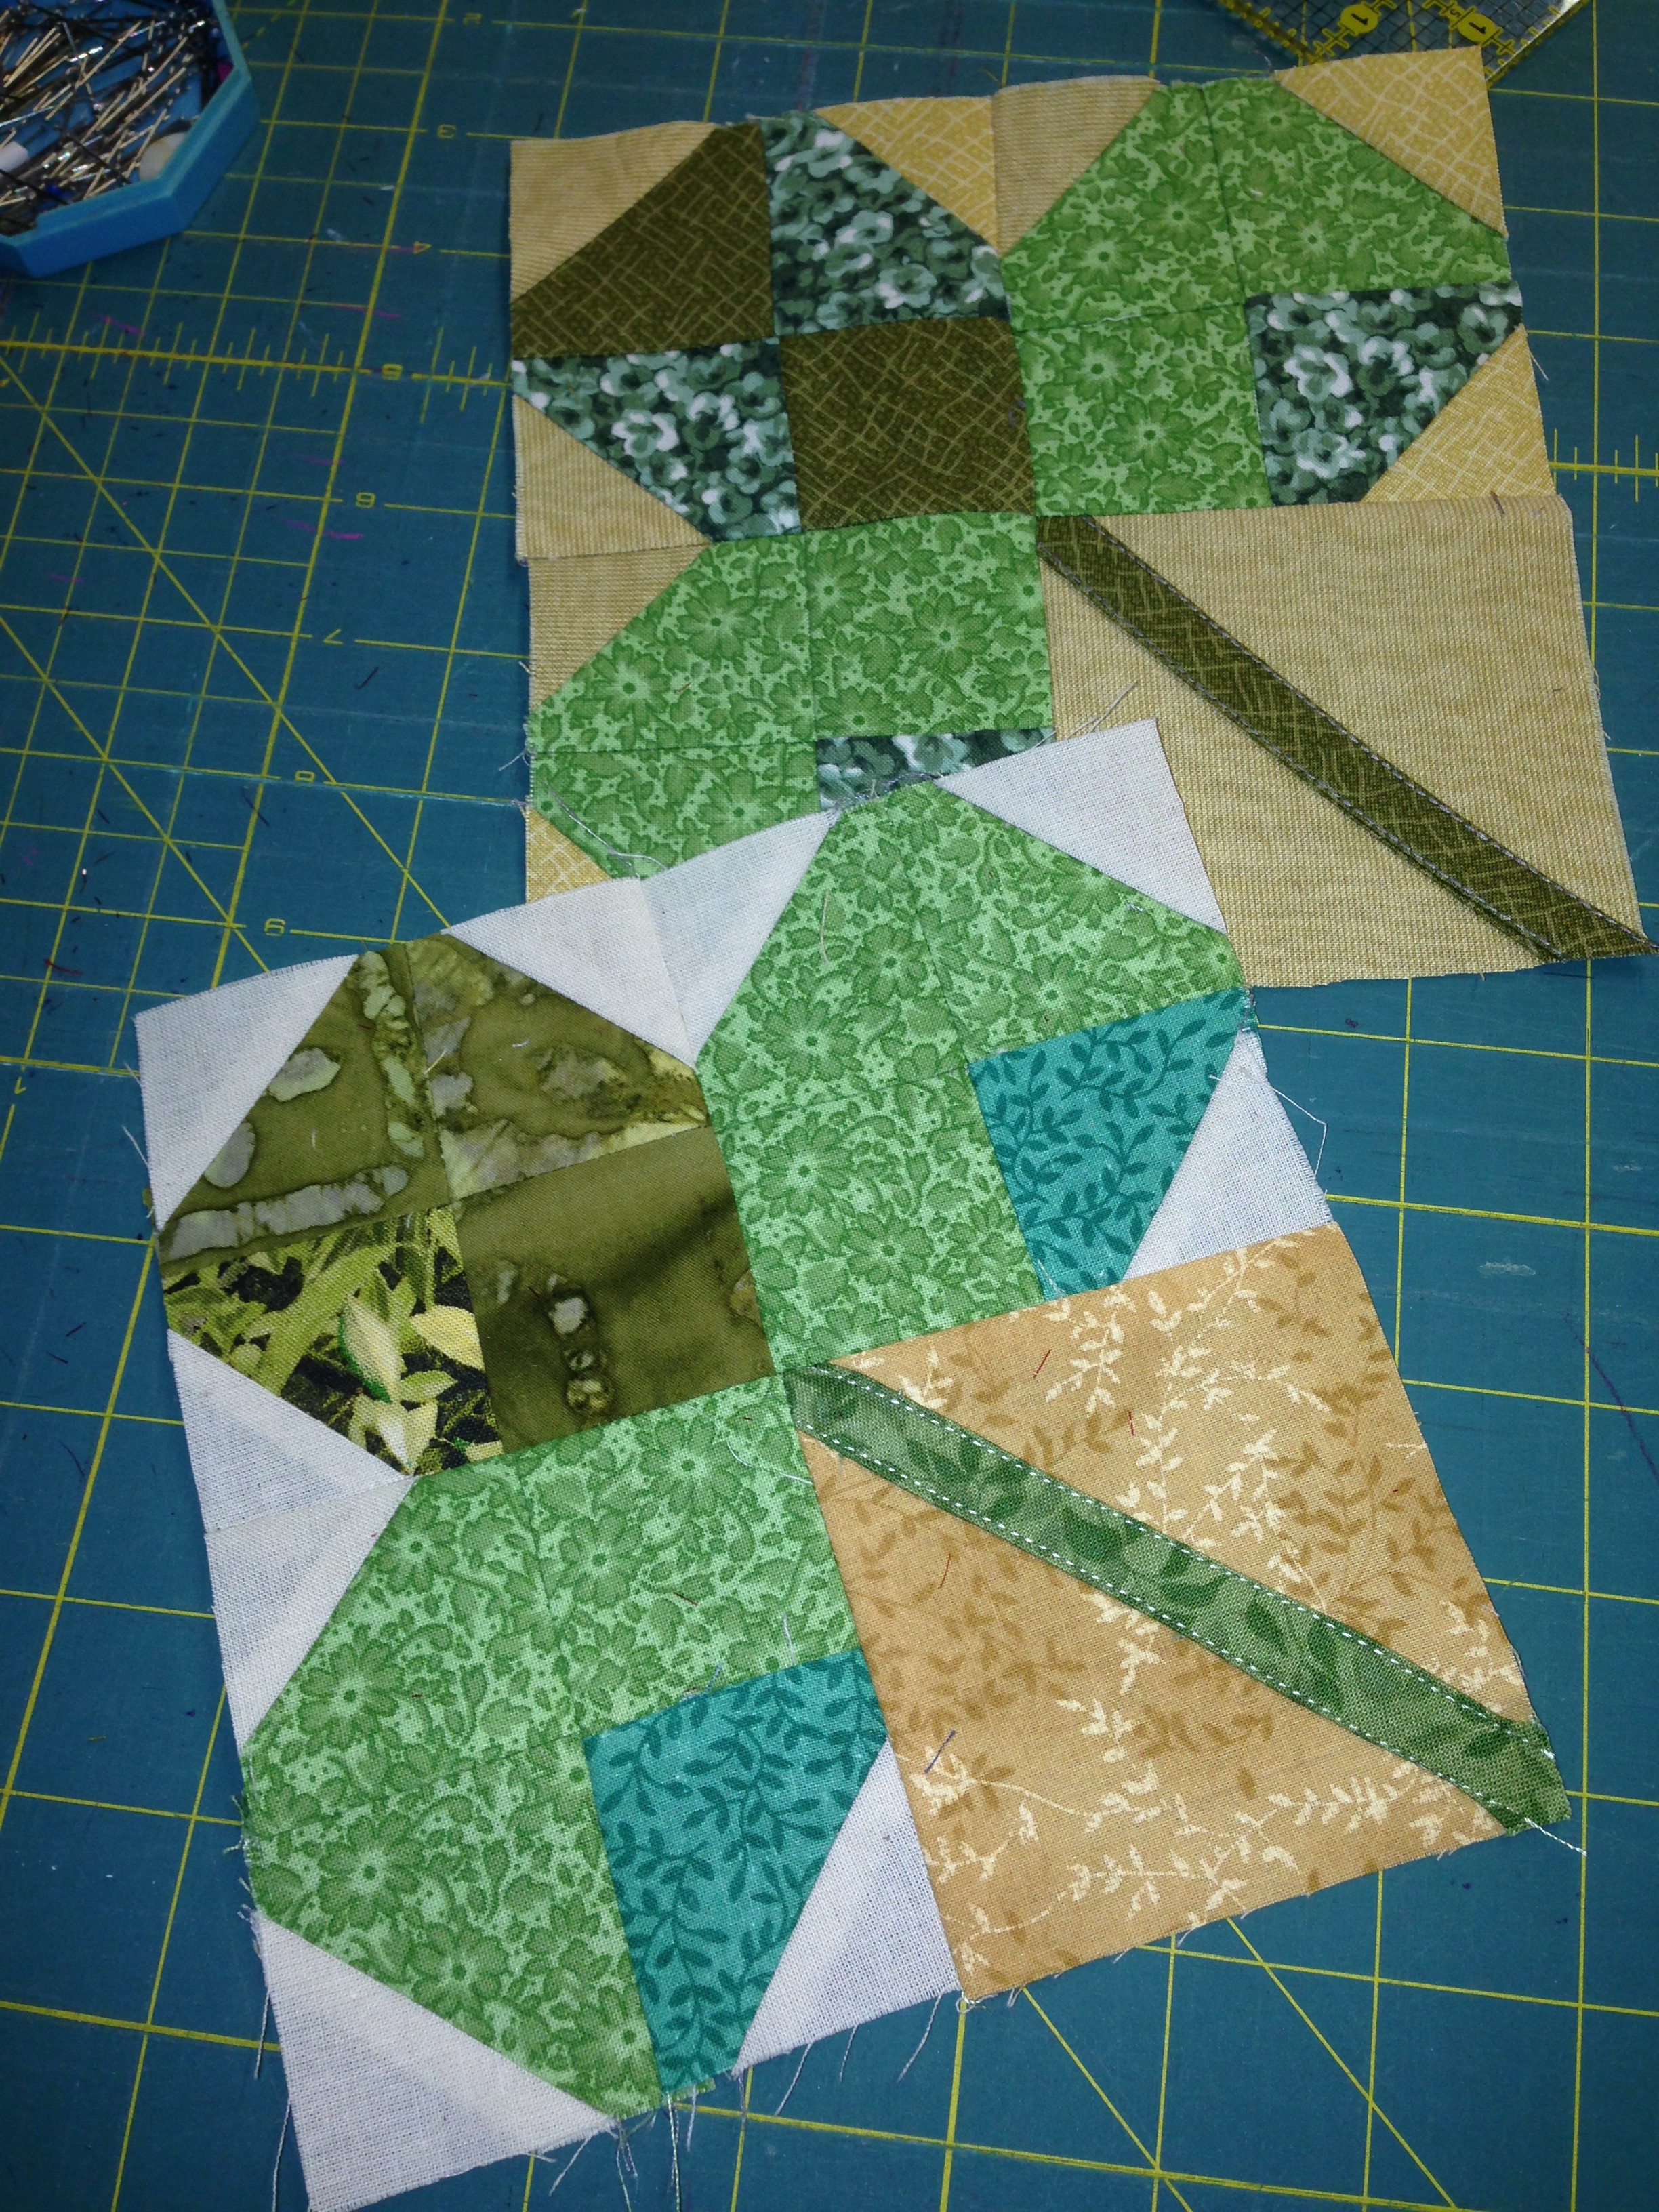 Here are two finished blocks! Have fun creating your own Scrappy Shamrock Blocks from your fabric stash!!
Note: My finished block size is 6-1/2″; however, you could obtain a larger finished block by using larger squares (i.e. 5″ beige/cream and 2.75″ green squares!)
I look forward to hearing from you and would love to see your finished blocks!