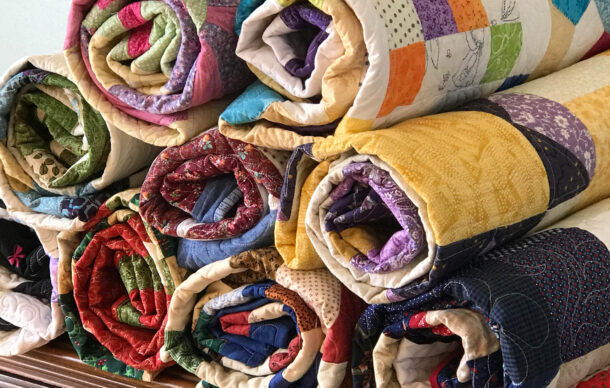
Are you ready for Step 2 of our Spring Mystery Quilts?
Do you need a bit of a break from sewing face masks? When I started breaking needles sewing over pins on the folds of my face masks, I decided it was time for me to take a break from that project and work on something else for a little while!!
In Step 2 of our Spring Mystery Quilt projects, we will prepare the HST’s (Half Square Triangles) that will be needed for each block in our quilt(s)!
Each quilt (Quilt #1: Spin on Attic Windows and Quilt #2 Shades of Spring) requires a total of 16 blocks. Each block is the same block; however, the placement of each block within the quilt and the color combinations we use will create the two different quilts!
Quilt #1: Spin On Attic Windows
As a reminder from my previous post, in Quilt #1 (Spin on Attic Windows) the Light Value will be my whites/creams; the Medium Value will be my reds, and the Dark value will be my Blues. As you view/study the photos here, replace ‘my colors’ with ‘your colors’ for your quilt!
You will create a total of (16) Medium/Light HST’s. and a total of (16) Dark/Light HST’s.
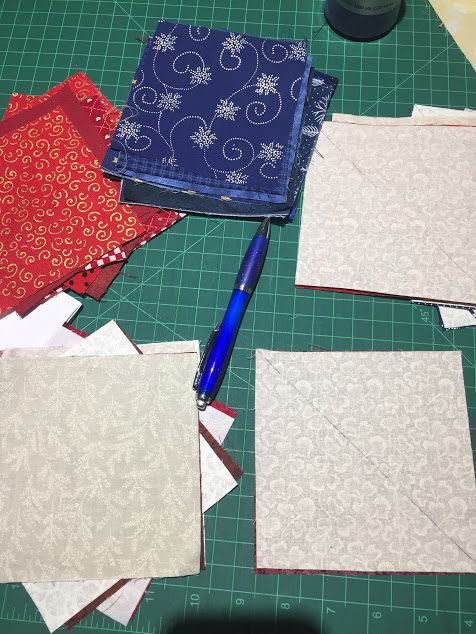
- Place a 5″ Light square RST (Right Sides together) on top of a 5″ Medium square. Place a 5″ Light Square RST on top of a 5″ Dark square. (See the photo above and below which shows Light squares placed RST on top of Red (medium) squares.) Do this for all (8) of your Medium 5″ squares and all (8) of your Dark 5″ squares. […After you’ve completed Step 6, you’ll see that “each” of these will produce (2) HST squares.}
- Use a pencil, pen, chalk or marking tool to draw a line DIAGONALLY from one corner to the opposite corner. See photos above & below.
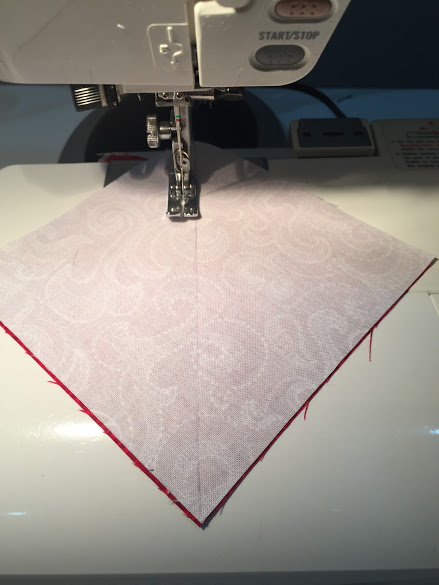 3. Sew a 1/4″ seam allowance down one side of the line and up the other side of that same line. I prefer to sew my HST’s in an assembly-line fashion. I sew down one side of ALL the squares and then turn the whole assembly of squares and then sew down the opposite line of the entire assembly of squares. This is a real time-saver! (see photo below where I am coming down the opposite side of the assembly line of squares. The white stitching to the right of the drawn line is a bit hard to see in this photo.)
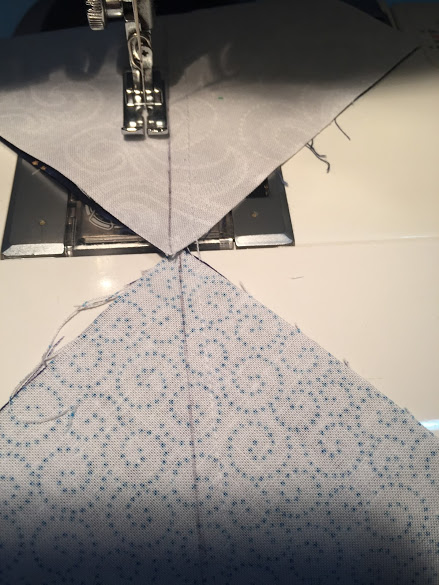
4. Then, cut all the squares along the drawn line to create HST ‘s.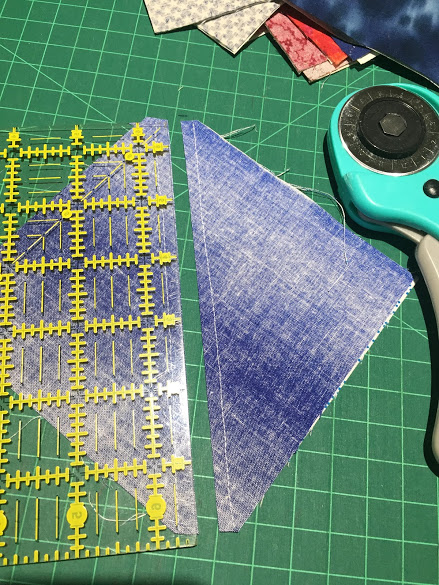
As I cut my assembly of HST’s apart, I like to trim off the “bunny ears” to get rid of that extra fabric. (see photo below)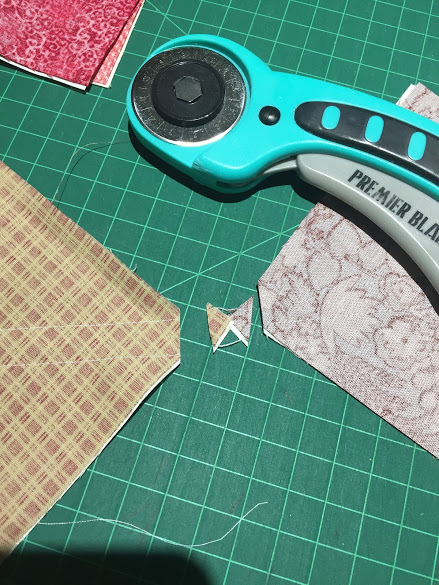
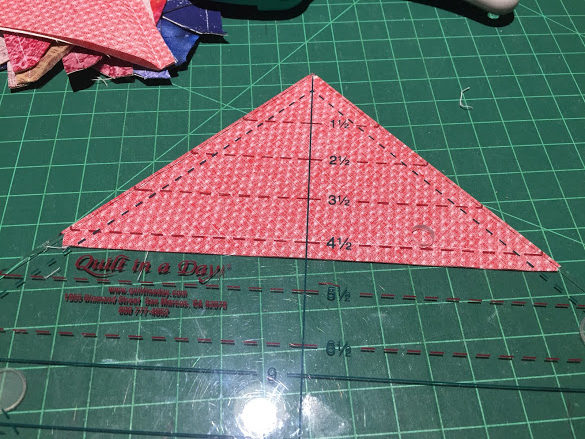
5. Next use a Triangle Square Up Ruler (Examples: Quilt in a Day; Fons & Porter, Block LOK, Clearly Perfect, ETC…) and place the ruler on the fabric triangles with the dashed 4.5″ line of the ruler directly on the SEAM line on the fabric. (See photo below) Then with the ruler as your guide, trim away any excess fabric from the top two sides of the triangle. This step creates a perfect size 4.5″ HST square when you open it up!
6. Now, take these triangles to your ironing board and press them open… press the seam allowances to the DARK SIDE! 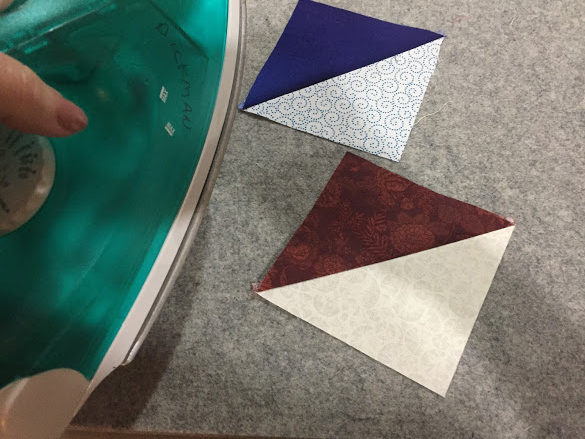
7. Make a total of 16 Dark/Light HST squares and 16 Medium/Light HST squares for the Spin on Attic Windows Quilt!
Quilt #2: Shades of Spring
For this quilt, we will be using four focus fabrics as well as light fabrics. You will use the same Steps 1 – 6 to produce your HST’s for this quilt. HOWEVER, the quantity of each color combination of HST’s is DIFFERENT than the first Quilt.
Following the color combinations used in my Shades of Spring quilt, prepare the designated number of HST’s:
- Focus Fabric ONE (Pink Floral): Use (9) 5″ Focus Fabric One [Pink] with (9) 5″ Light fabric for Step 1 – 6 (above)
- Focus Fabric TWO (Green floral): Use (8) 5″ Focus Fabric Two [Grn] with (8) 5″ Light fabric for Step 1-6 (above)
- Focus Fabric THREE (Lav] Floral): Use (7) 5″ Focus Fabric Three [Lavender] with (7) 5″ Light fabric for Step 1-6 (above)
- Focus Fabric FOUR (Blue Floral): Use (8) 5″ Focus Fabric Four [Blue] with (8) 5″ Light fabric for Step 1-6 (above).
- When you have sewn, cut and pressed open the above HST’s, you will end up with a total of:
- (18) Focus Fabric ONE [Pink]) HST squares
- (16) Focus Fabric TWO [Green] HST squares
- (14) Focus Fabric THREE [Lavender] HST squares
- (16) Focus Fabric FOUR [Blue] HST squares
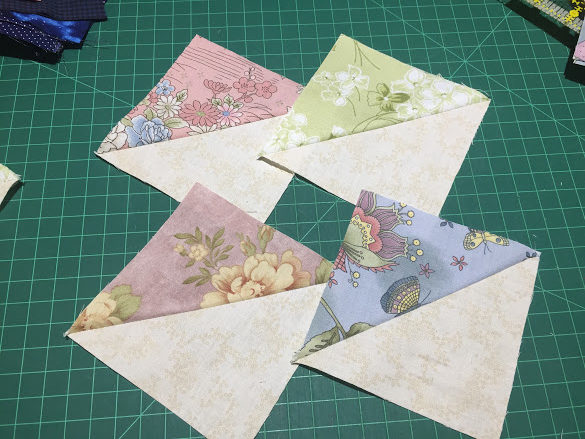
In the photo above, you will see one each of my completed HST squares in the four focus fabric colors: pink, green, lavender, and blue.
Now that you have the HST squares all prepared for your blocks for BOTH Quilts, you can go back to sewing up those Face Masks!:-)
Tomorrow, I will post Step 3 which will show you how to piece all of your blocks together!
Happy Quilting!
Lori