 The Dresden plate template can produce a variety of quilts and is really quite fun to use. Pictured to the right is the Layer Cake size Dresden template (10″) which I’ve actually used on 5″ Charm squares. Note that since I am only cutting 5″ Dresden blades, the top half of the template extends beyond the top of the Charm squares.
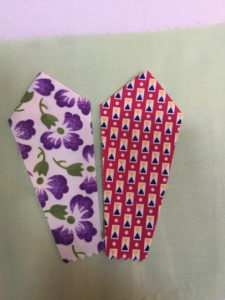
I was able to cut two Dresden blades from a 5″ charm. The photo above shows the cut Dresden blade.
And, below are 3 cut Dresden blades ready to be sewn…

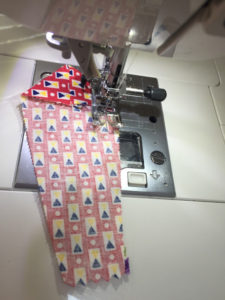
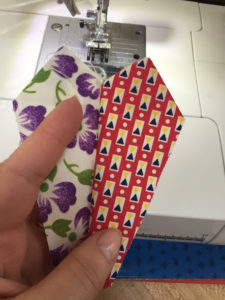
To finish the top edge of the Dresden blade, fold the blade right sides together as shown in the photo below.

Then stitch across that straight seam … 1/4″ seam allowance.

Finger press the seam open, and then flip it to the underside as shown in the photos below, and press.


Once the tops of the blades are all finished, then begin sewing the blades to one another. I like to begin stitching at the top of the blade to ensure the edges match perfectly at the top. Since the bottom of the blades will be covered up by either a circle or some other applique method, it doesn’t matter if they don’t match up precisely at the bottom.
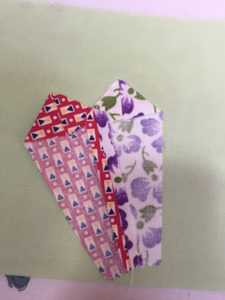
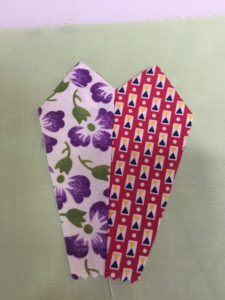
The seam allowances have been pressed open. You can press them to one side; however, I feel they lay flatter by pressing the seams open.
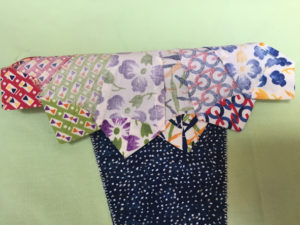
Notice how nicely the blades line up next to one another at the top finished edges. Sew as many blades together as you need to create a half circle or a full circle…depending on your pattern.
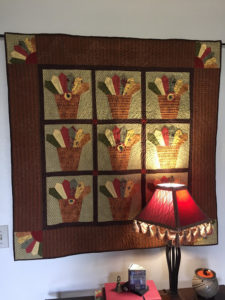
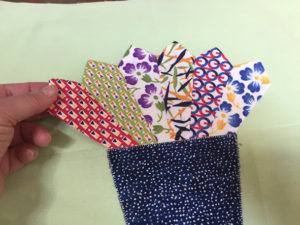
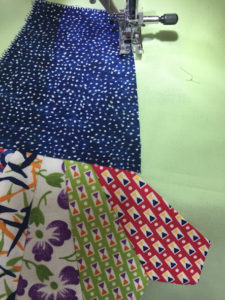
You’ll notice in the pictures that follow that I sewed six blades together to create a flower pot. The pot was appliqued to the 15″ block using a blanket stitch. The blades have not yet been stitched down… I wanted to show you how they were seamed together on the back. The blades will be appliqued to the block to complete the flower pot blocks.
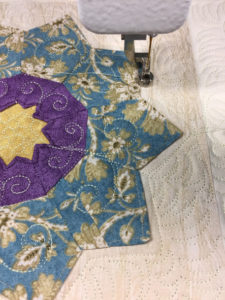
Below are a few photos of quilts made with Dresden plates! I hope you try a Dresden quilt soon! Happy Quilting! Lori

