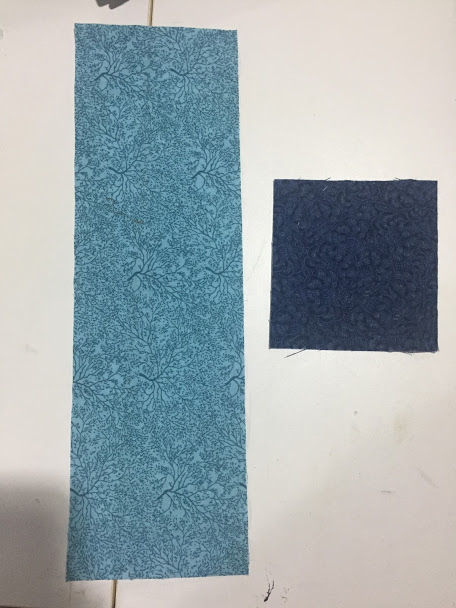
For this step of our Scrappy Mystery Quilt, we will be working on the corner stones and sashing between all the 4-block units. The corner stones are 3-1/2″ dark squares (mine are navy). The sashing I have chosen is a light/medium blue. I have chosen to use yardage fabric (instead of scraps) for the corner stones and sashing so the color of those areas of the quilt are uniform. This adds a unifying component to the very scrappy quilt. The consistent color/fabric choice in sashing and corner stones acts as a resting place for the eye.
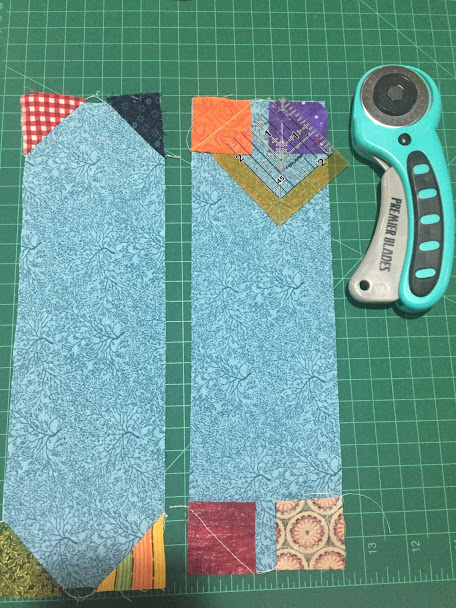
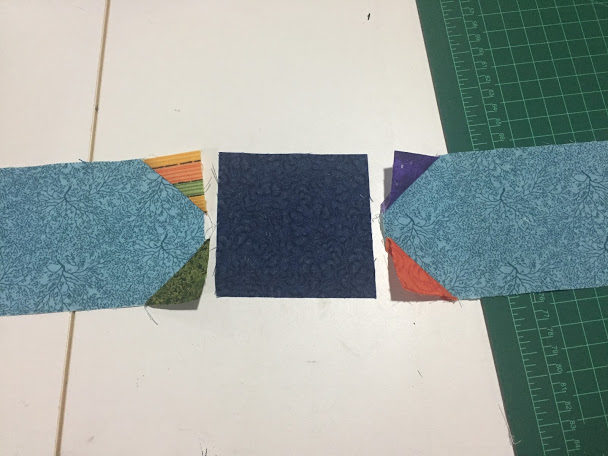
The sashing rectangles will be snow-balled on each of the 4 corners with a 1.5″ bright colored square. (Throughout the tutorial, I will refer to the sashing as light blue and the cornerstones as navy, although your choice of colors will probably be different than mine.)
Materials for this step: Corner stones: Qty 25 (3.5″) Navy squares (approx. 1/3 yard); Sashing: Qty 40 (3.5″ x 11.5″ rectangles) Light/Medium Blue (approx 1.25 yard); Snowballs: Qty. 160 assorted bright 1.5″ squares (from your Speedy Solutions Scrap Stash!)
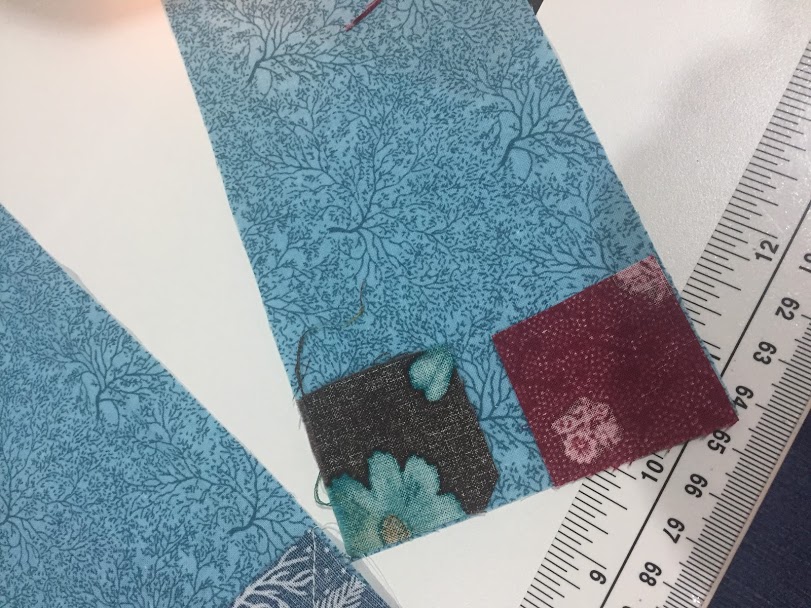
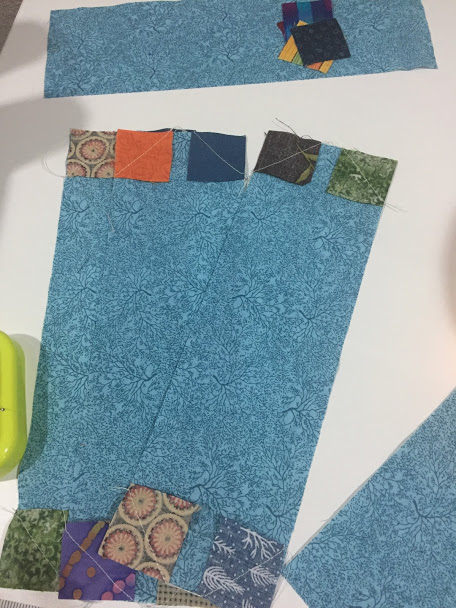
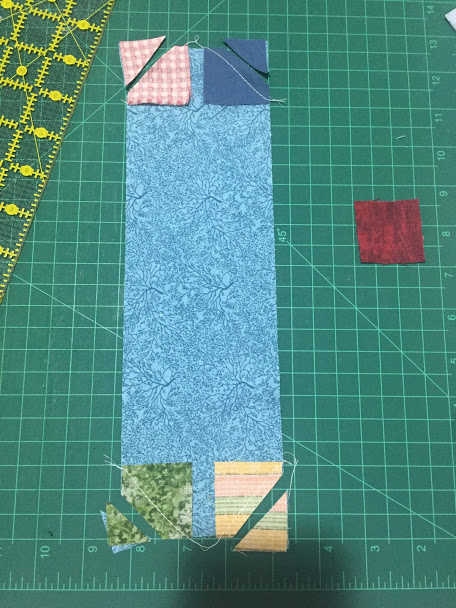
Step One: Place a 1.5″ bright square on each of the 4 corners of the light/blue sashing strips. Draw a line diagonally across the 1.5″ square … this will be your sewing line as you ‘snowball’ each corner of the sashing rectangle. Once you’ve sewn all 4 corners on the drawn line, then trim away the excess leaving a 1/4″ seam allowance. Press away from the rectangle. This completes your ‘snowballed’ rectangle sashing unit.
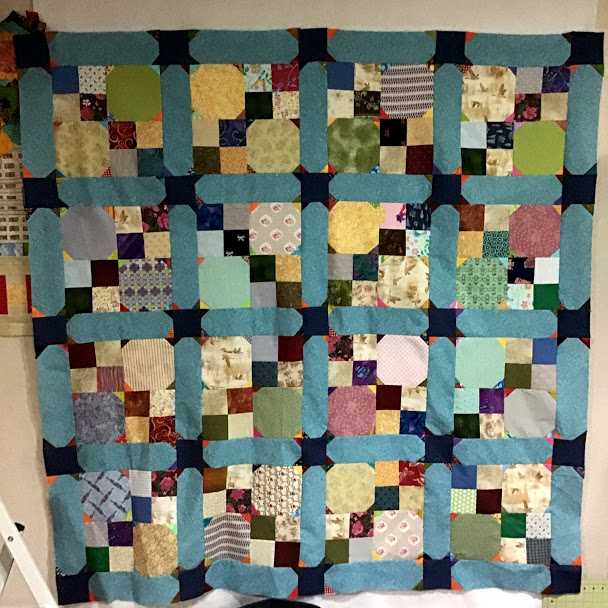
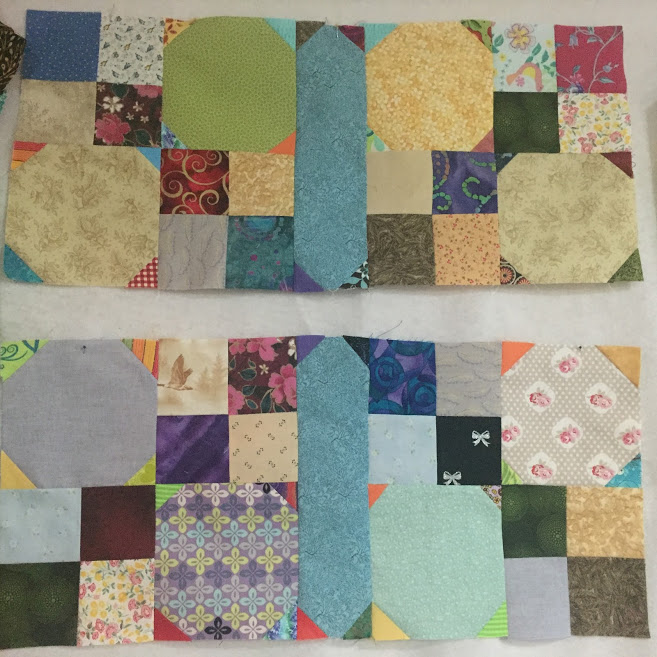
Step Two:. Before we sew our sashing units between all the block units, lay out your block units on a design wall or on the floor to ensure that each block unit is facing in the direction in which it should go! Notice in the photo below that I have placed the blocks so that each 4-block set creates an “X” (Note: the 3″ finished dark/bright squares in the photo below create an “X” in the Block units.) The quilt center will be made up of 4 sets of these 4-block units..
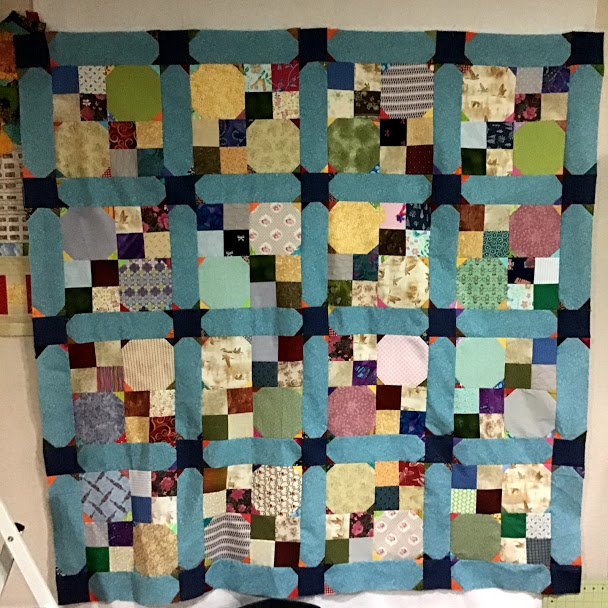
Sew a rectangle sashing unit between the blocks…
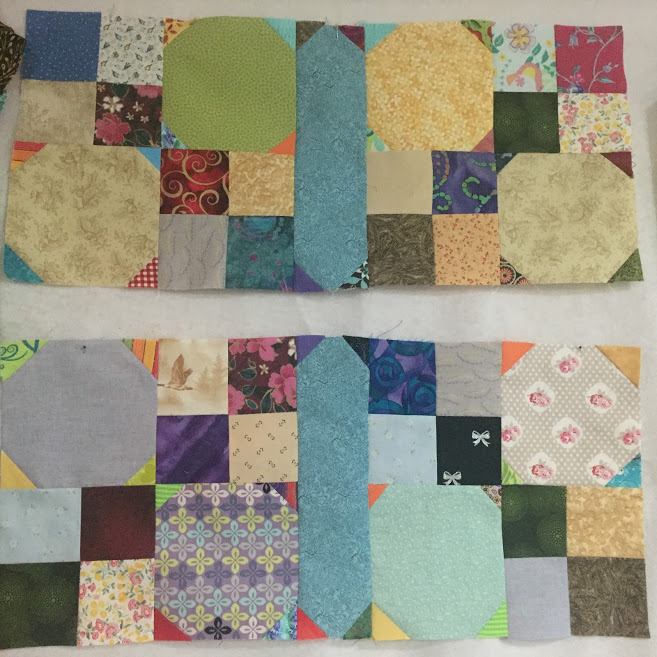
Since our quilt is made up of 4 block units “across” and 4 block units “down,” we will sew 4 ROWS of ‘blocks & sashing’ units together as follows:
a) Sew a sashing rectangle unit to the left side of (4) block units. b) Then sew those (4) ‘Sashing/Block’ units together in a row. c) Lastly, sew a rectangle sashing unit to the RIGHT side of the last unit to finish out each row. d) Make 4 rows identical to this.
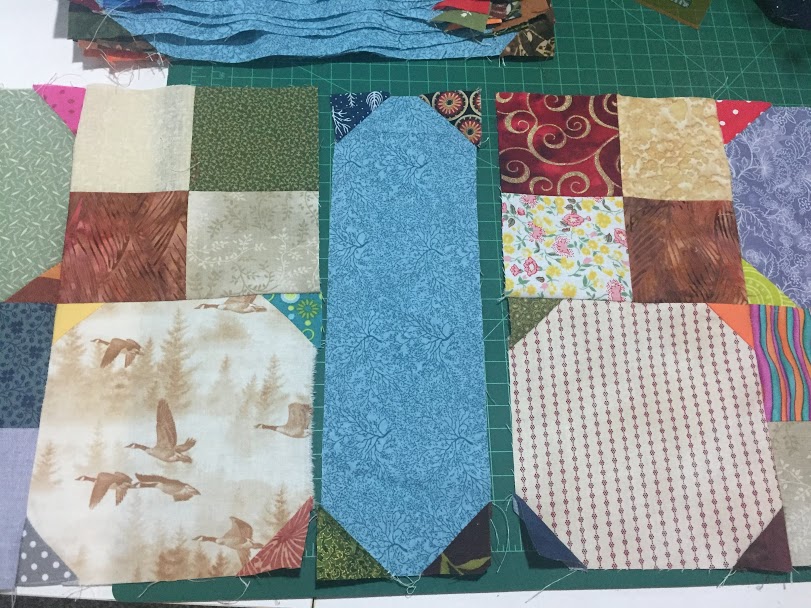
Step Three: Now, we are going to create our Sashing Rows which will be sewn as follows: Sew a (Navy) corner stone to the left side of (4) Light blue sashing rectangles. Sew those units together in a row. Last, sew a (Navy) corner stone to the RIGHT side of the last sashing rectangle to complete the sashing/corner stone row. Make 5 rows identical to this. .
Step Four: Now we’ll sew all the rows together to create the quilt. We’ll start with a Corner stone/sashing row at the top of our quilt. (See photo) which we’ll sew to a Block/sashing unit Row. BE SURE to maintain the “X” Block Unit placement as you sew the rows together . Using a Design wall or even the floor as you sew these rows together will help you and prevent lots of “ripping out” and re-sewing!
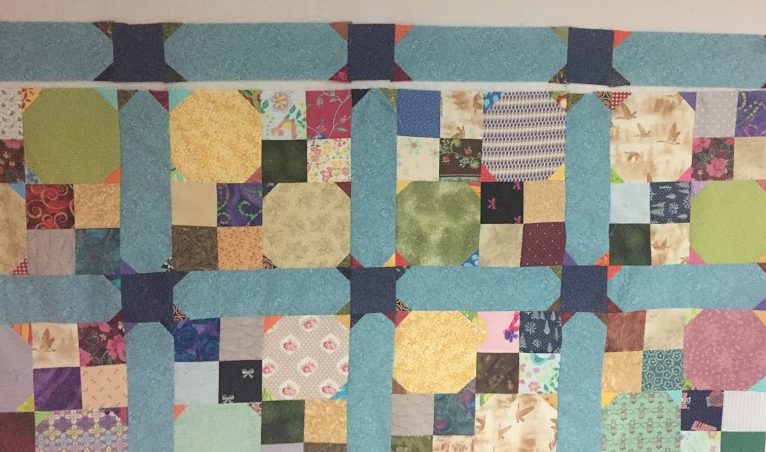
Once we have the 5 Cornerstone/Sashing rows sewn to the 4 Block/Sashing unit rows, the next step of our Mystery Quilt will be the two outside borders! That’s coming up in our next Mystery Quilt Blog!
We are so close to being finished with this great Scrappy Quilt! Until next time… Happy Quilting! Lori Dickman
