Been finishing up more Art Quilts and having a wonderful time at it! These quilts will be added to my Art & Landscape Quilt Lecture repertoire. The Pixel quilt shown above was made from a photo of my granddaughter, Danielle (Dani). There are almost 4000 (1.5″) squares pieced in this quilt top! I had fun with the quilting. Here are a few close-ups of the quilting below …


I love animal quilts and couldn’t resist making some art quilts of Bailey (Boston Terrier) and Baxter (French Bulldog)! They were so much fun to make. Both of these patterns were designed in an App called QuiltFusion. (If you have an iPad, I’d recommend that you go out and get that app… you will enjoy using it!)
These two art quilts just make me smile when I look at them because I can immediately identify each dog’s fun-loving personality … even though these are ‘cartoon-ish’ photos of them! . Below you can see the step-by-step process of Baxter’s quilt as his landscape was being put together….
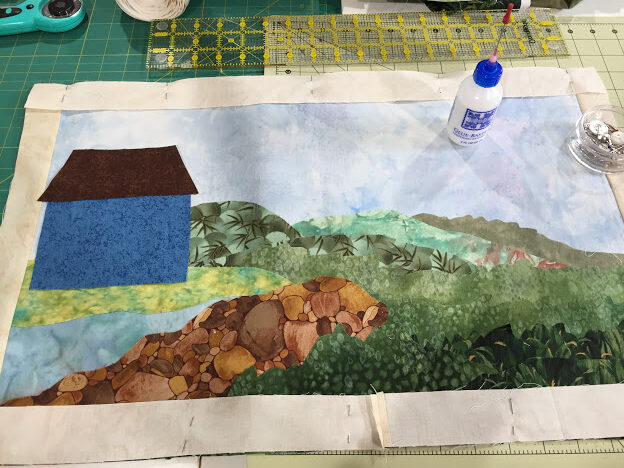
For the backgrounds (landscapes) I prefer to use glue baste to avoid so many layers of Steam-a-seam 2. Personally, I like the rather ruffled edges of the grasses and hills… to me it looks more real-life. So in this photo you see I’ve placed my hills/grasses on the background using my glue baste.
The house and roof and the rest of the smaller pieces will all be applied using the SAS-2.
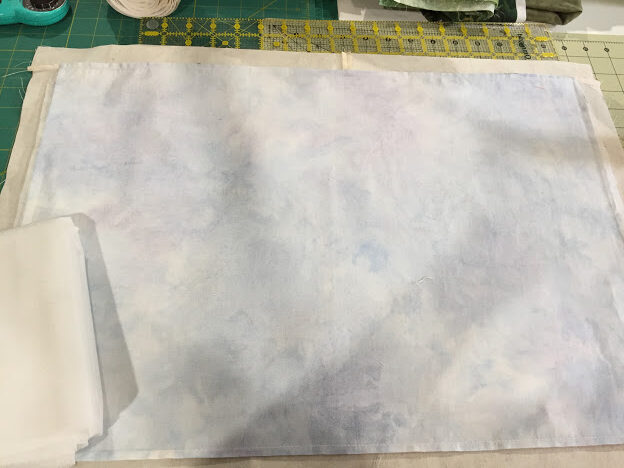
Whenever I start an Art Quilt, I always line the back of the quilt with a fusible interfacing … nothing too heavy… just enough to give the background some stability as I begin the applique process on the front!
So, in the photo above, you see the interfacing applied to the back of the sky fabric. The rectangle of sky fabric is the foundation for all the layers of applique pieces of my art quilts.

In the photo here, I have added the house, roof, chimney, windows, sidewalk, stonewall, water, large tree, flowers and the sun. You can see a few of the floral pieces that need to be cut and pressed onto the art quilt (lower right portion of photo.)
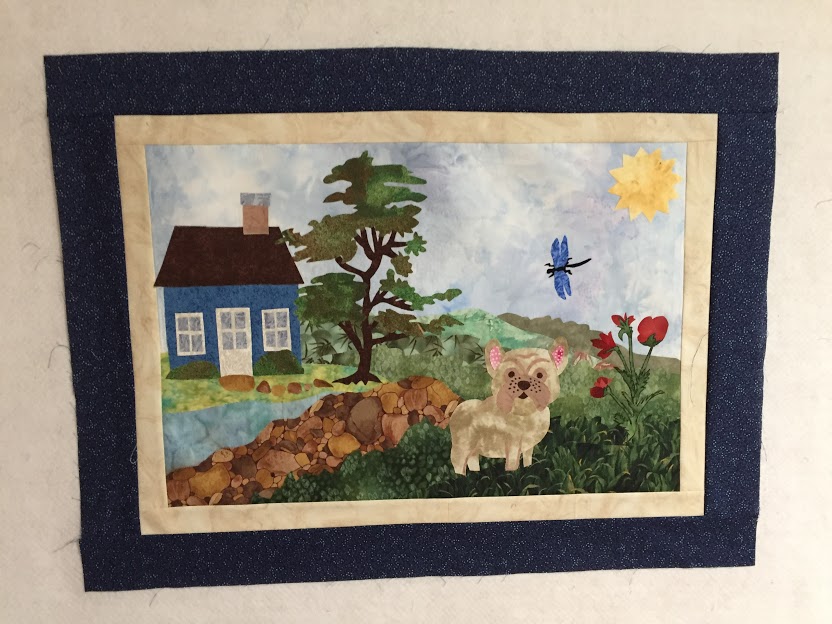
Baxter and the dragonfly were added last. Then it was time for machine applique. I grabbed numerous embroidery thread colors to match the various parts of the quilt for applique. I typically use a ‘straight stitch’ along the very edge of each piece to applique all the pieces to the quilt.There are certain times that I will use ‘thread coloring’ or the blanket stitch, etc… but not for this quilt.
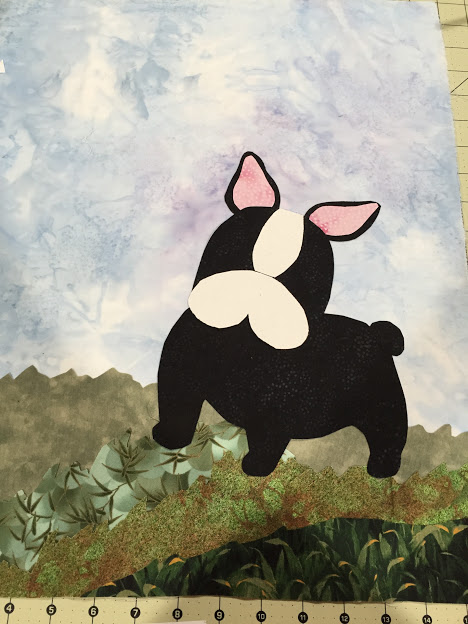
So, here’s the beginning of Bailey’s quilt. Her body is applied to the background using SAS-2 (Steam-a-Seam 2). The grassy hills were applied just using a glue baste method.
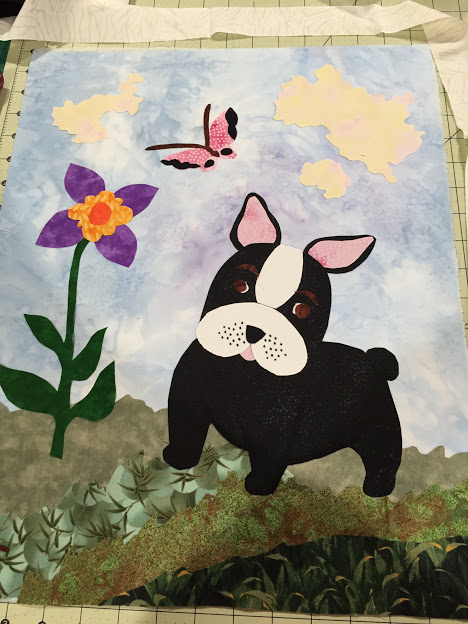
In the photo of Bailey below, the flower, butterfly and clouds were added. In the photo below that, the borders were added…

Here are a few photos of the quilting for Bailey’s quilt… (Baxter’s is still on the quilt machine!)


Here’s the finished “Bailey Quilt!” Don’t you just want to jump into the quilt and start playing with her?

Hope you try your hand at Art Quilts! If you and your Guild would like to hear about my Virtual Art Quilt Lectures, please contact me at: quiltingwithlori@gmail.com
Happy Quilting! Lori Dickman
