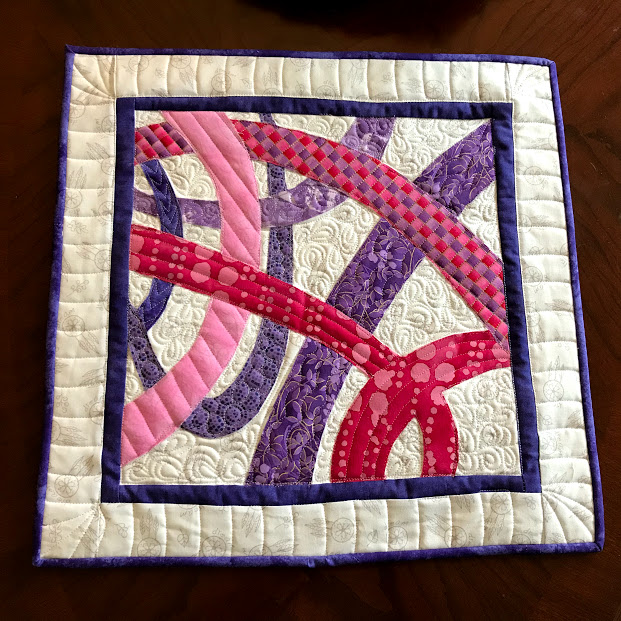
In 2017, while in the Art Classroom, we were all asked to draw something on a little 4″x 4″ piece of paper. Typically, a 10-year-old would draw a house, flower, trees, or maybe a cat or dog. But, not Dani! She began to draw some swirls and soon had an unusual and lovely piece of modern art drawn and colored onto that small piece of paper! I was so enchanted by her artwork that I brought it home and decided that one day I would make an art quilt of her artwork!
The steps below demonstrate how I accomplished this. Hope it will inspire you to create art quilts of your children’s or grandchildren’s school art as well!
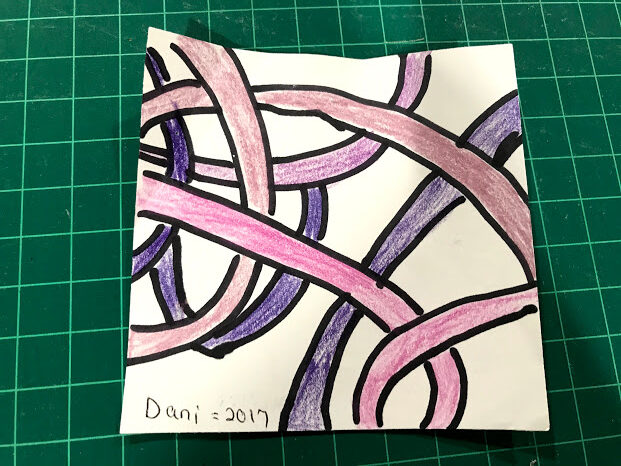
The Photo above is Dani’s little 4″ x 4″ artwork!
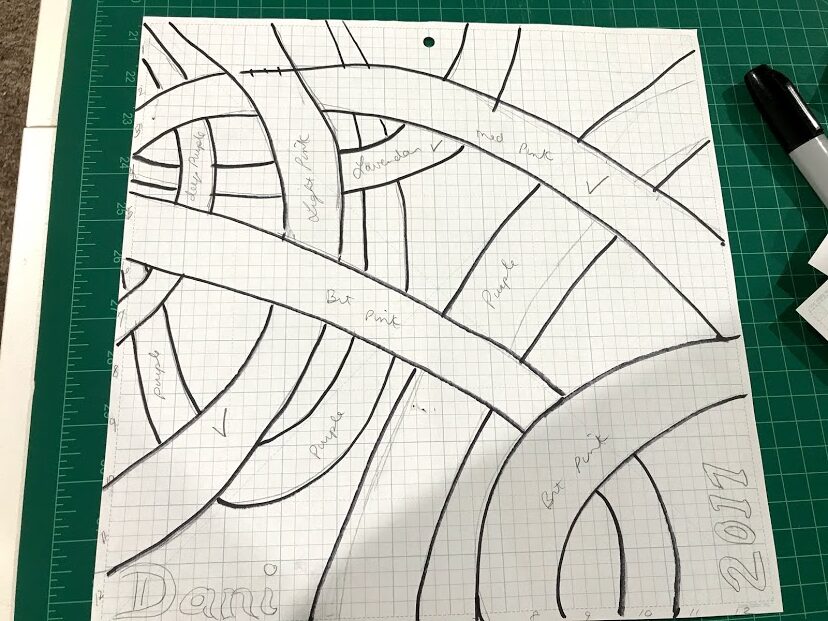
I enlarged the small piece on my printer and then scaled it even bigger using a grid penciled onto the copy. The goal was to get the artwork to be 12″ x 12″. (See photos here of my penciled grid…)
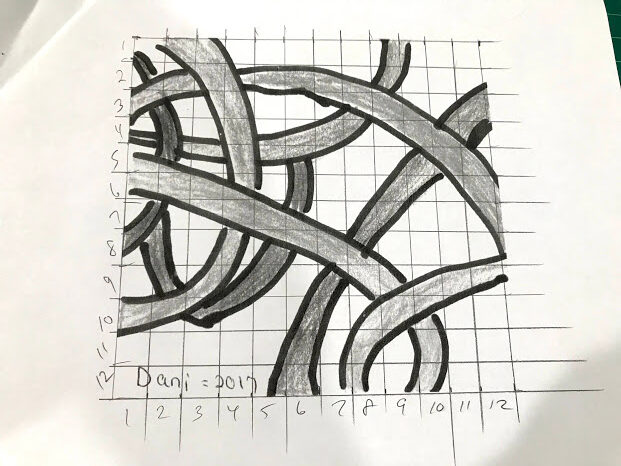
Below is a photo of the enlarged art piece on a 12″ x 12″ paper grid..
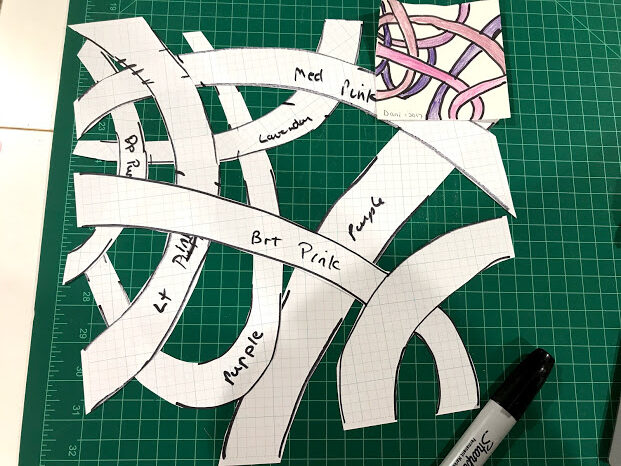
Then, I traced the pieces onto Steam-A-Seam 2 (SAS2). In this photo below, you’ll see that I have ‘woven’ the individual pieces of grid patterns under and over some of the other pieces, as Dani did in her artwork. It was sort of a trial run of what I’d be doing shortly with the real fabric elements of the quilt using SAS2!
Next, I simply pressed the cut-out pattern pieces of Steam-A-Seam 2 onto the appropriate color fabric, cut those out, and then removed the one layer of SAS 2 adhesive from the fabric pieces so I could place the pieces on the background.. The wonderful thing about working with SAS 2, is that it is ‘movable!’ so you can adjust the placement of each piece before pressing it down permanently! I LOVE that!
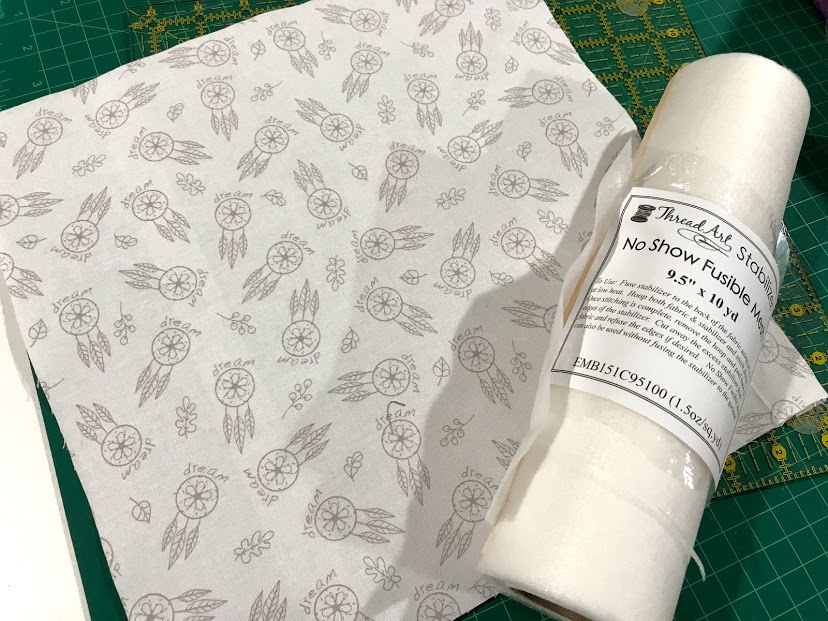
There’s a photo below which shows the fabrics I selected for the art quilt to follow Dani’s color theme as closely as possible. You’ll notice that I also adhere a ‘fusible interfacing’ onto the back of the background fabric for all my art and landscape quilts… nothing thick. It’s just a good thing to have the background fabric stabilized with an interfacing. This really helps keep the shape of the quilt while doing the applique step. Pictured below you’ll also see the interfacing I used on this art quilt…

Before pressing the pieces according to the SAS2 directions to make them adhere permanently, I made sure I liked the placement. This is the time to move things as you need to and make sure the placement is just the way you want it.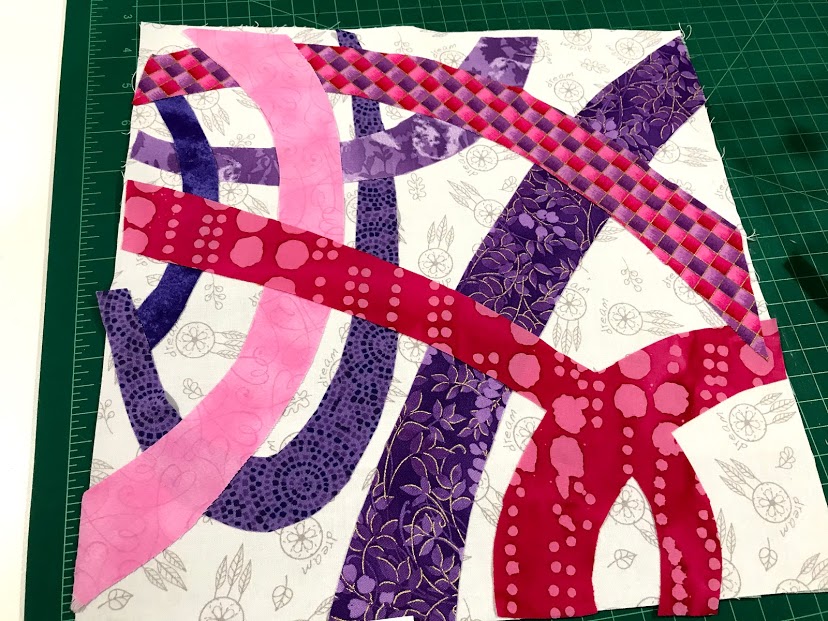
Embroidery threads of various shades of pink and purple were used to applique the quilt pieces onto the background. I simply used an ‘edge’ stitch to applique all the pieces to the background.
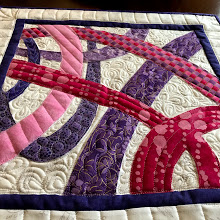
Once the elements of the art quilt were appliqued to the background, then I added a small purple border for accent, along with a 2″ outer border. At this point I took the little quilt to my long-arm quilt machine. The background was quilted with a free-motion paisley quilt stitch, and the individual elements were each quilted using a different free-motion quilt stitch. The outer border was quilted using a ‘curved’ edge ruler…I wanted to motion of the quilt to continue out on the border to some degree.
The binding for the quilt uses the same purple fabric as the inner border, When I attached the label, I also decided to attach Dani’s original artwork to the back of the quilt. I encased it in a sandwich bag and simply hand-stitched it to the back of the quilt. It will be a visual reference of Dani’s art for years to come.

Would love to see some quilts of yours that you’ve made of your kid’s artwork! Send them to me so I can post them!
Happy Quilting! Lori Dickman
