Diamond templates are fabulous for cutting quick and precise diamond shapes for your quilt. I like to to sew the diamonds pieces together in rows so there are NO “y” seams to contend with!! Diamonds can also be created using 60 degree triangle templates!
Below are some step by step pics and instructions which should help you use the Rhombus template (diamond), the Tri-Recs ruler template and the 60-degree Triangle Ruler! Experiment with these templates and have fun creating!
Rhombus (Diamond) Ruler template
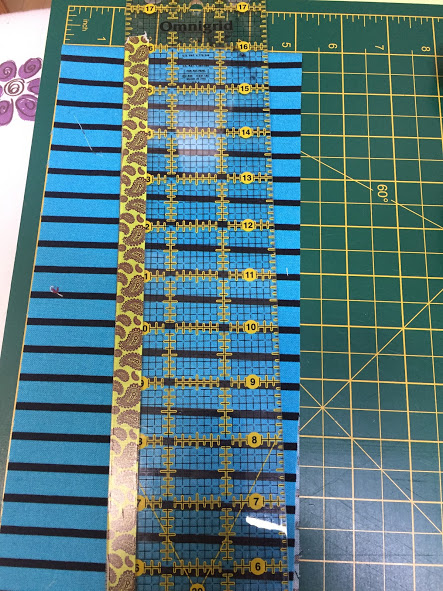
When using a 5″ Rhombus (Diamond) ruler template, cut 5″ strips of fabric (WOF = width of fabric). Note for the photo above that I moved my ruler off to the left a bit…when I actually go to make my cut, I’ll align the ruler right down the 5″ mark on the cutting mat.
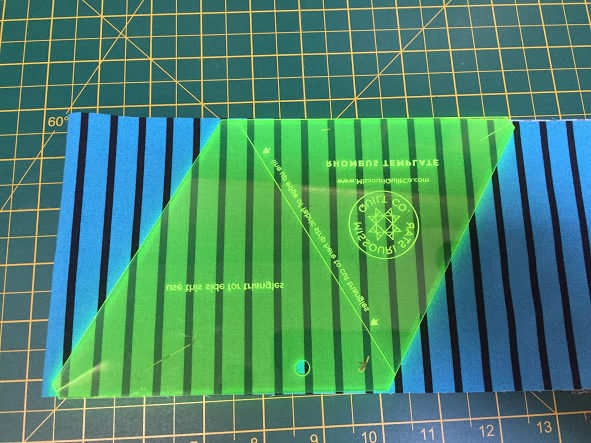
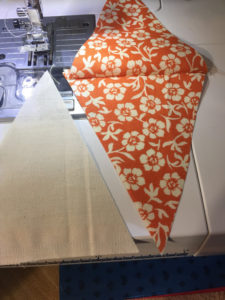
Next, align the rhombus (Diamond) template along the edges of the 5″ strip of fabric (as shown above)… My 5″ strip of fabric is folded in half lengthwise to produce two diamonds.
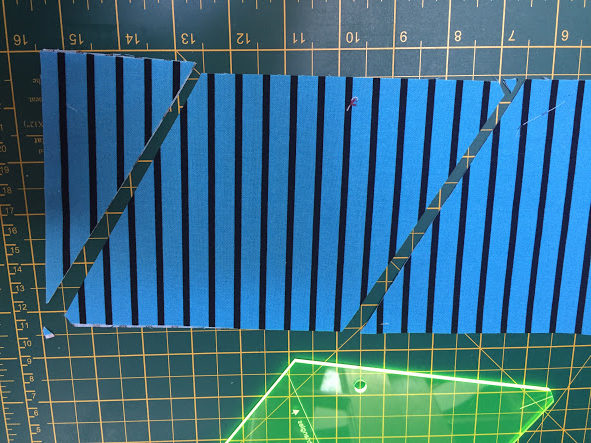
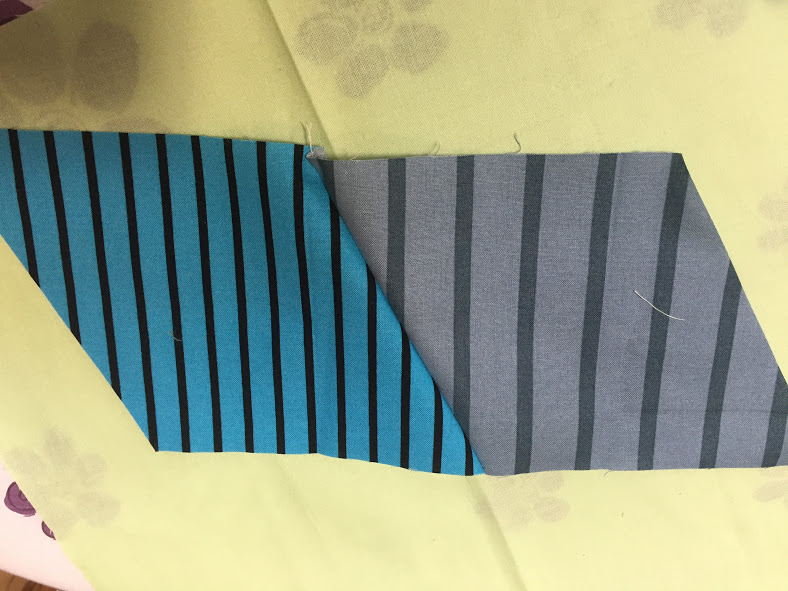
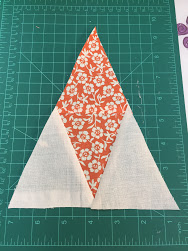
Notice (above) the diamond shapes which have been cut. The template also allows for you to trim off two points. This helps in getting rid of excess ‘dog ears’ within the seams. It also helps to align the two diamonds properly to sew them together.
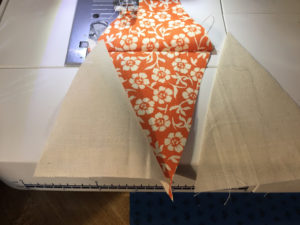
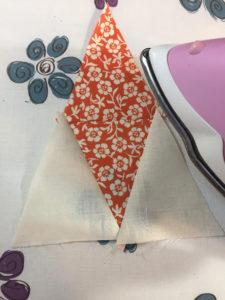
Above, the two pieces are ready to be sewn together…
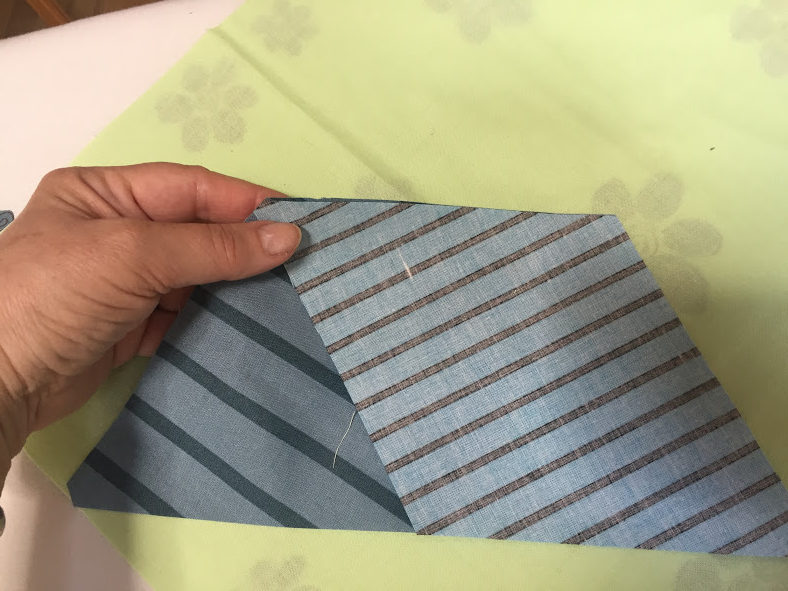
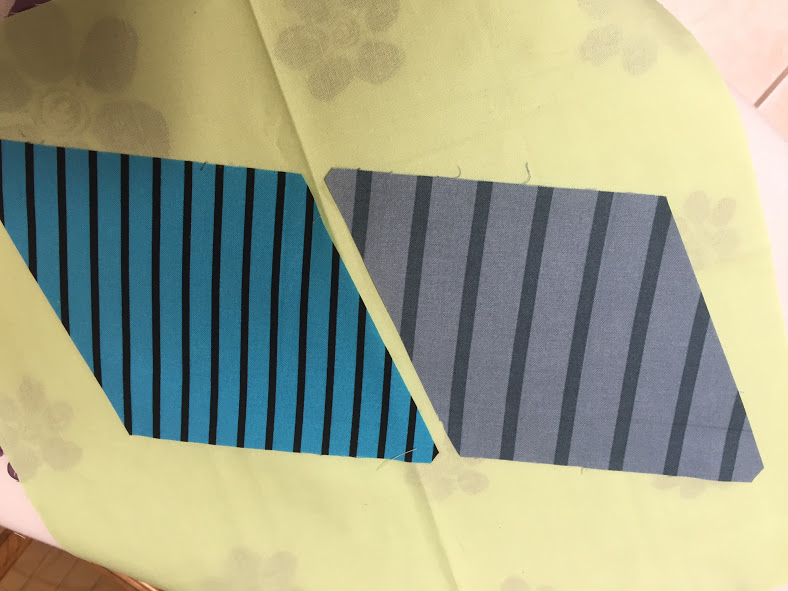
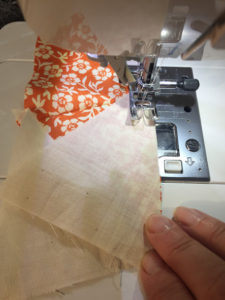
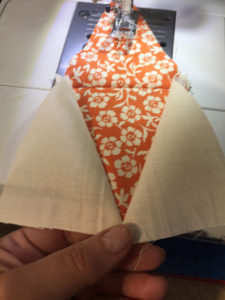
In the photo above, I have aligned the raw edges of the diamond shapes in order to sew the seam. Notice how the cut-off tip on the left part of the top diamond lines up nicely with the straight edge of the diamond underneath. (See edge close to my fingers…)
In the photo above, the seam allowance has been sewn….
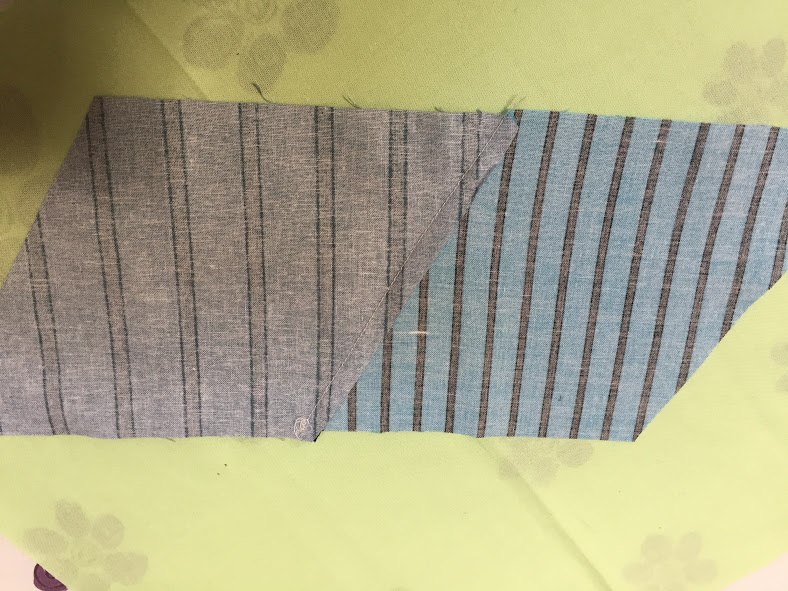
…and in the photo above, that seam allowance has been pressed (photo is the underside of the fabric.)
In the photo above diamonds (which were cut using the rhombus ruler) have been sewn together in rows diagonally. Those rows are then sewn together to create the quilt..simple and beautiful! And the fabulous part of this is that there are NO “Y” seams to sew… Just straight seams! Yeah!
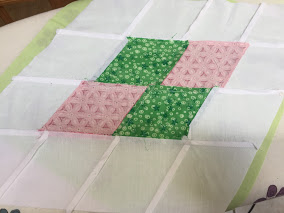
Here’s the back side of that little diamond quilt… All straight seams!
Tri Recs Ruler Set
Now, let’s see how the Tri Recs ruler set works to create Diamonds from triangles! You’ll be pleased to know that it also goes together very simply using basically the same process.
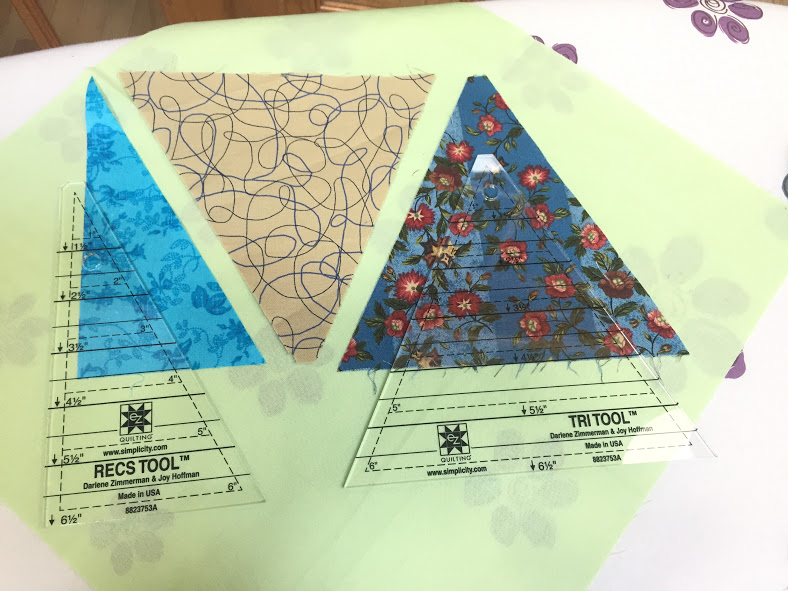
The Tri Recs Ruler Set allows you to cut different size triangles and recs from your fabric from 1-1/2″ to 6-1/2″. (The Recs Tool creates the straight edges at the end of each row; they are basically half the triangle, plus seam allowances.)… The Tri Tool is a 60 degree triangle. When placing/matching all the colored/printed triangles in your quilt strategically, you can produce rows of Diamonds! All straight seams! NO “Y” seams!
The strips of fabric that I cut for the triangles pictured above were 5 1/2″ x WOF. The Tri Tool ruler was placed on the strip of fabric with the bottom straight edge aligned with the bottom of the raw edge of the strip of fabric. As you cut triangles across the strip of fabric, you will flip the ruler upside down and then back again in order to have the bottom straight edge of the ruler always aligned with the raw edge of the strip of fabric as you cut each triangle. I usually always fold my strip of fabric in half lengthwise in order to cut two at a time… Saves time!
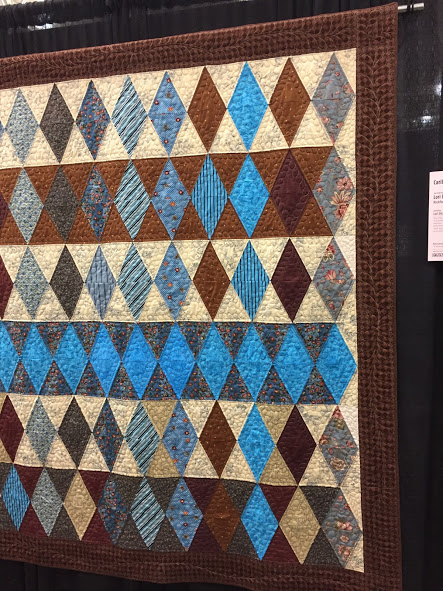
In my Caribbean Blues quilt shown above, I used the Tri Recs Ruler set to create rows of what appear to be diamonds, but they are actually triangles sewn in horizontal rows. The rhombus diamond ruler could have been used to create this quilt also. However, the rows would be sewn “diagonally” to create the quilt when using the rhombus diamond ruler.
60-Degree Triangle Rulers used to create diamonds…
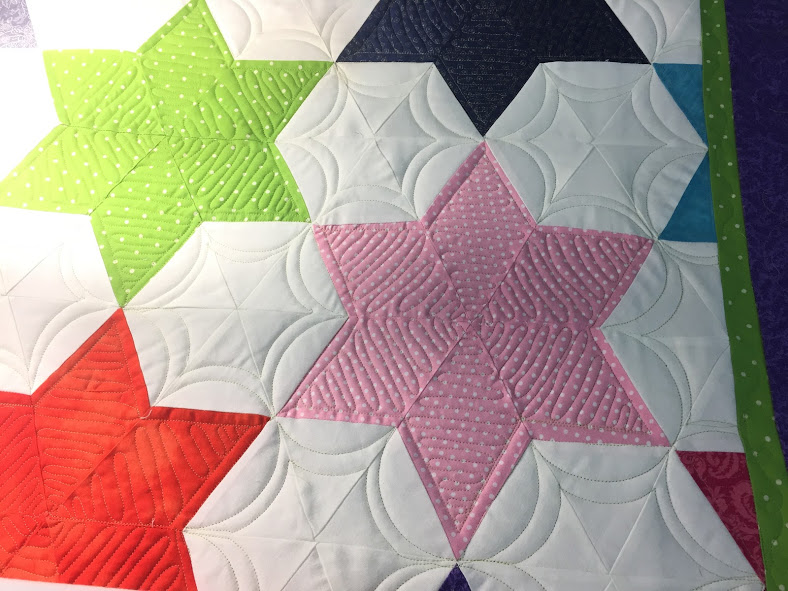
Notice in the photo above that each horizontal row is nothing but small 60 degree triangles sewn together. They are strategically placed, row by row, in order to create not only diamond shapes, but STARS! How great is that? And again, NO “Y” seams!!! Let me show you how this was done…
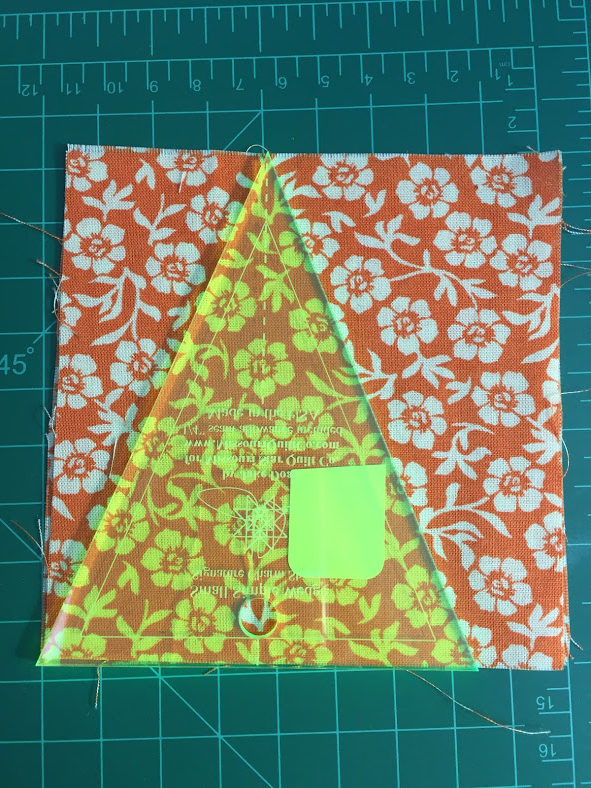
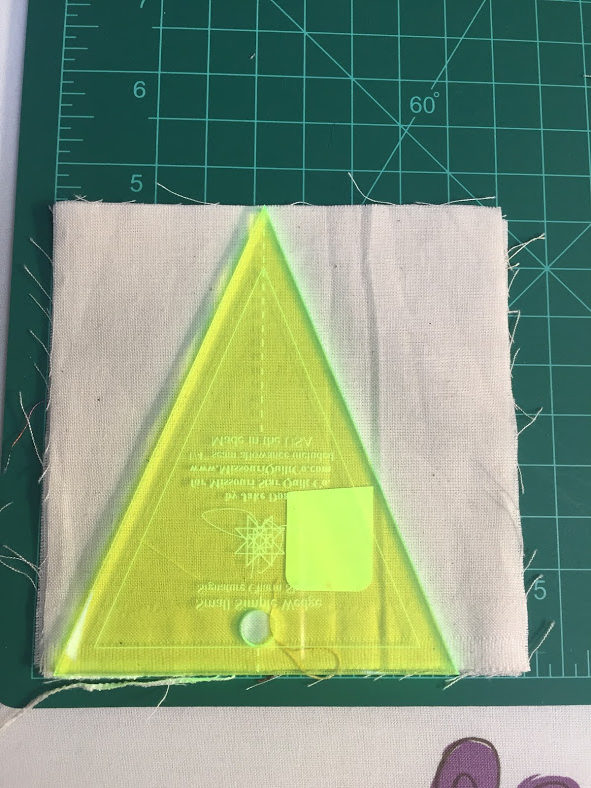
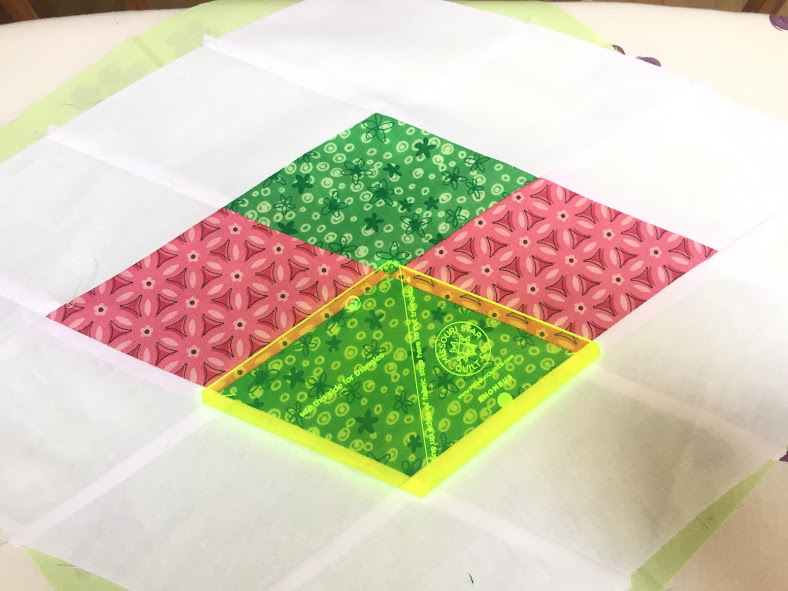
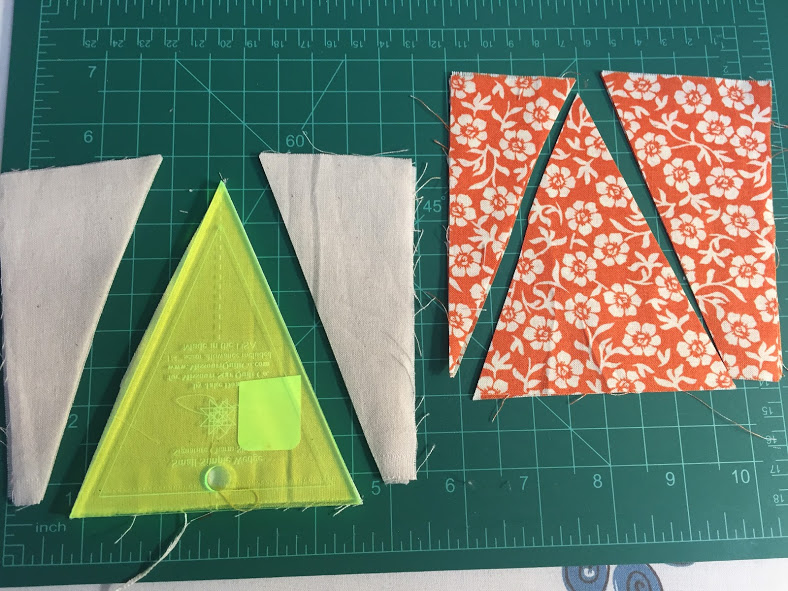
In the two photos shown above, I have placed a 4-1/2″ 60-degree triangle on 4-1/2″ fabric squares and cut out the triangles. (see photo below…)
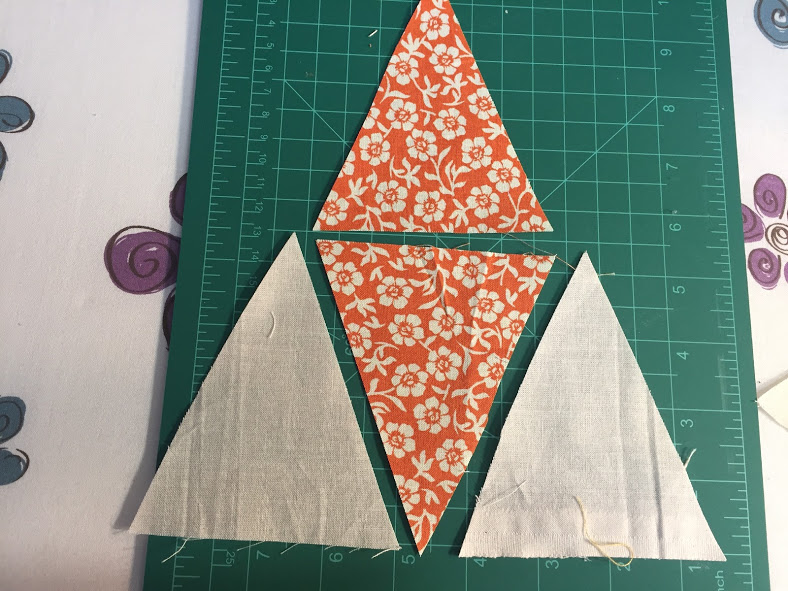
Next, I placed four of the triangle fabric pieces strategically to create a larger 60 degree triangle. See photo below…
I sewed the 4 triangles together and pressed the seams.
 The photo here shows a pressed 60 degree “triangle set” made from 4 smaller 60 degree triangles.
By strategically placing these sets in horizontal rows and flipping each triangle set, based upon color arrangement, stars and diamonds can easily be sewn while NEVER sewing a “Y” seam!
I hope you’ll pick up some Diamond templates and have fun creating some great quilts! Happy Quilting! Lori