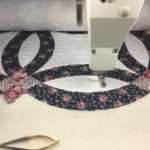
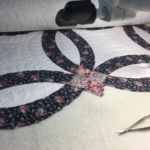
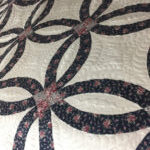
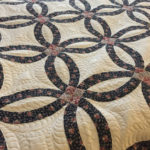
Last month I quilted a Wedding Ring quilt for a customer, Mrs. Joyce Anglea. Her piecing of this curved quilt top was absolute perfection! It was amazing! Her quilt top was PERFECTLY SQUARED, with PERFECT 1/4″ seams EVERYWHERE! It was a dream to quilt. We should all take lessons from her on obtaining perfect 1/4″ seams, even around curves and Y-seams!!!
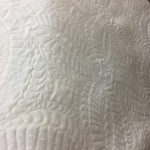
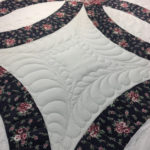
As soon as I saw the quilt top, it just called out to me for feather motifs in the center of each Wedding Ring. Shown above are a few pics of the quilt on my long-arm as I am working on it! And, shown below are a few pics of it after it came off the long-arm. (Photo on the left is of the underside of the quilt.) Mrs. Anglea made the quilt as a wedding gift for her daughter! I believe her daughter is going to love this treasure from her mother!
On my website, you’ll find a Tutorial on how to piece curved seams. The tutorial is called “Drunkard’s Path Block Patterns Made Easy” and it illustrates, step-by-step how to piece a curved seam, similar to the curved seams found in this Wedding Ring quilt.
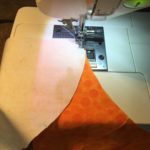
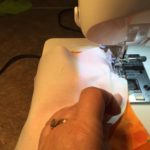
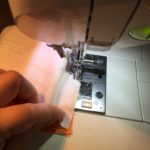
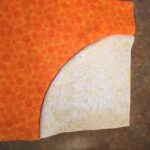
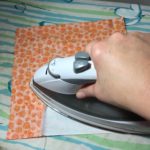
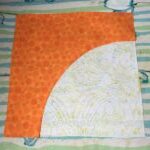
Below are a few photos from my tutorial…depicting how to lay the two curved pieces together to begin the seam; how to begin sewing the 1/4″ seam allowance, continuing down the curved seam to the end, and the finished curved block after sewing. NOTICE: I did not use pins for this process. It is a very easy technique. Check out the tutorial by following this link below:
https://quiltingwithlori.com/2018/03/20/drunkards-path-quilt-patterns-made-easy/
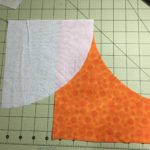
Hope you try your hand at Curved Piecing! It really is a great technique to add to your repertoire!
Happy Quilting!
Lori
